Would you like to make a notebook for a diary or for sketches? Read on to find out how to create a handmade journal!
Once you determine the size of the notebook, you want adjust your cover and pages to match the desired size. I used cover and paper that was 7” x 10 1/4’” so that my closed notebook was 7 inches tall and five and 1/8th wide.
 Supplies
Cover: one sheet of heavy paper or thin cardboard
Pages: ten sheets of either drawing paper or copy paper
Strong thread
Pencil
Bone folder or spoon
Awl or small nail
Scissors
Needle
Paper clips
Ruler
Xacto
Cutting mat or thick surface to cut on
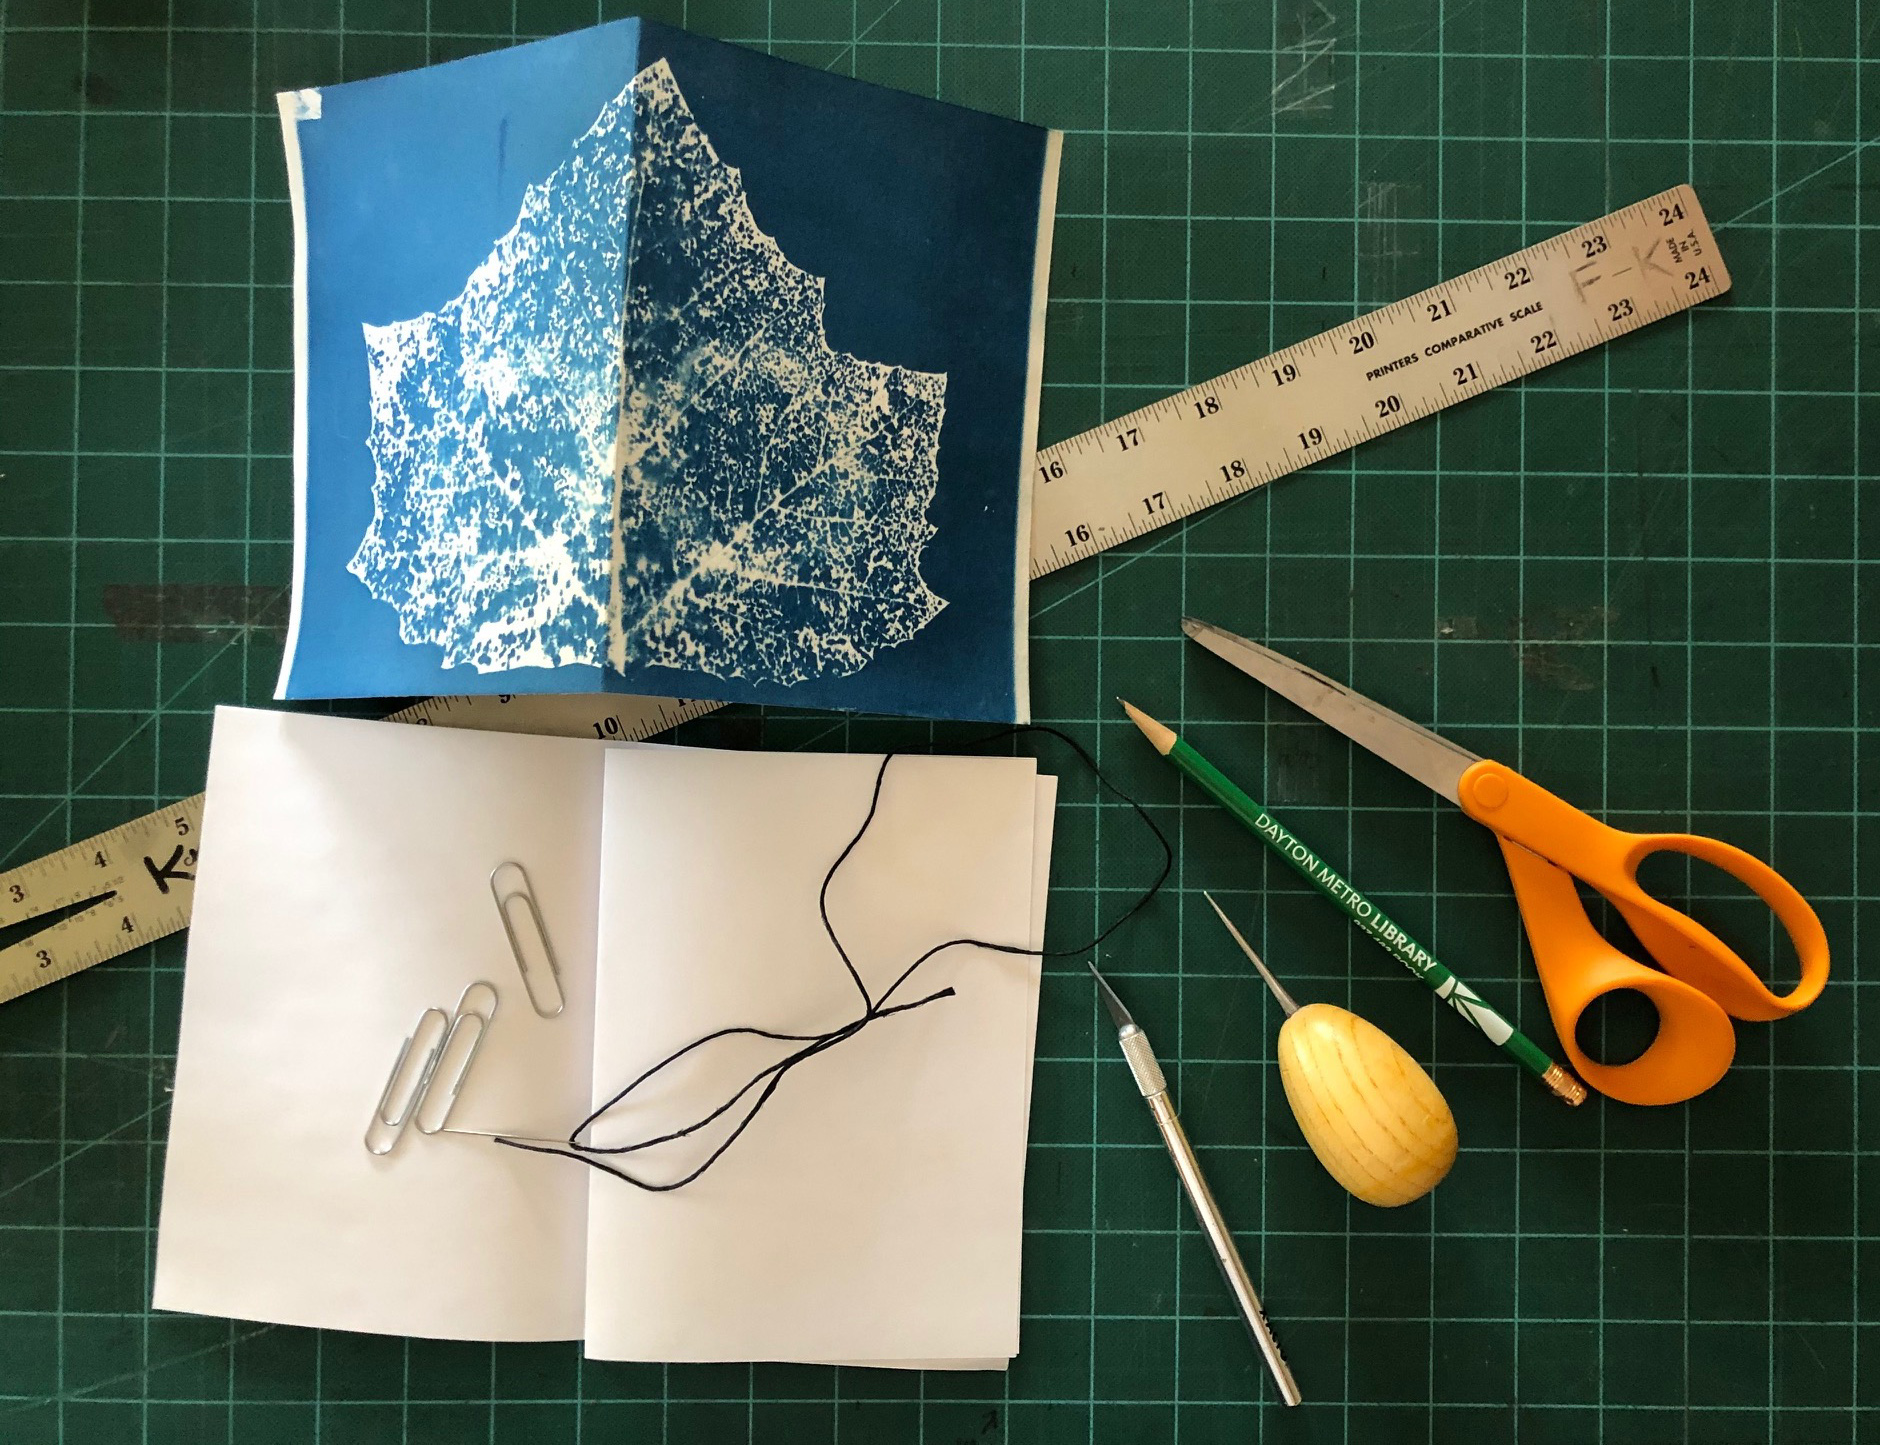
Step 1: Fold each piece of the pages and the cover sheet in half using the bone folder or back of a spoon to crease the fold.
Step 2: Place pages on the inside the cover, tap them on the counter so that they are all flush on the end and snug against the spine. Use paper clips to hold them in place.
Step 3: Mark 3 holes, equal distance apart, along the inside crease of the notebook.
Step 4: Making sure you are on your cutting mat or thick surface – use your awl or small nail to pierce a hole through the pages and cover making three holes along the marks.
Step 5: Cut a length of thread about three times the length of the spine.
Step 6: Thread needle and starting at the outside of the notebook go in the following order.
- Thread center hole from outside to inside leaving a 4” tail.
- Next go to the top hole – inside to outside
- Go all the way to the bottom hole – outside to inside
- Return to the center hole – inside to outside
Step 7: Make sure the two tails of the thread are on either side of the one long thread and make a knot. Trim ends or attach decorative beads, buttons, etc.
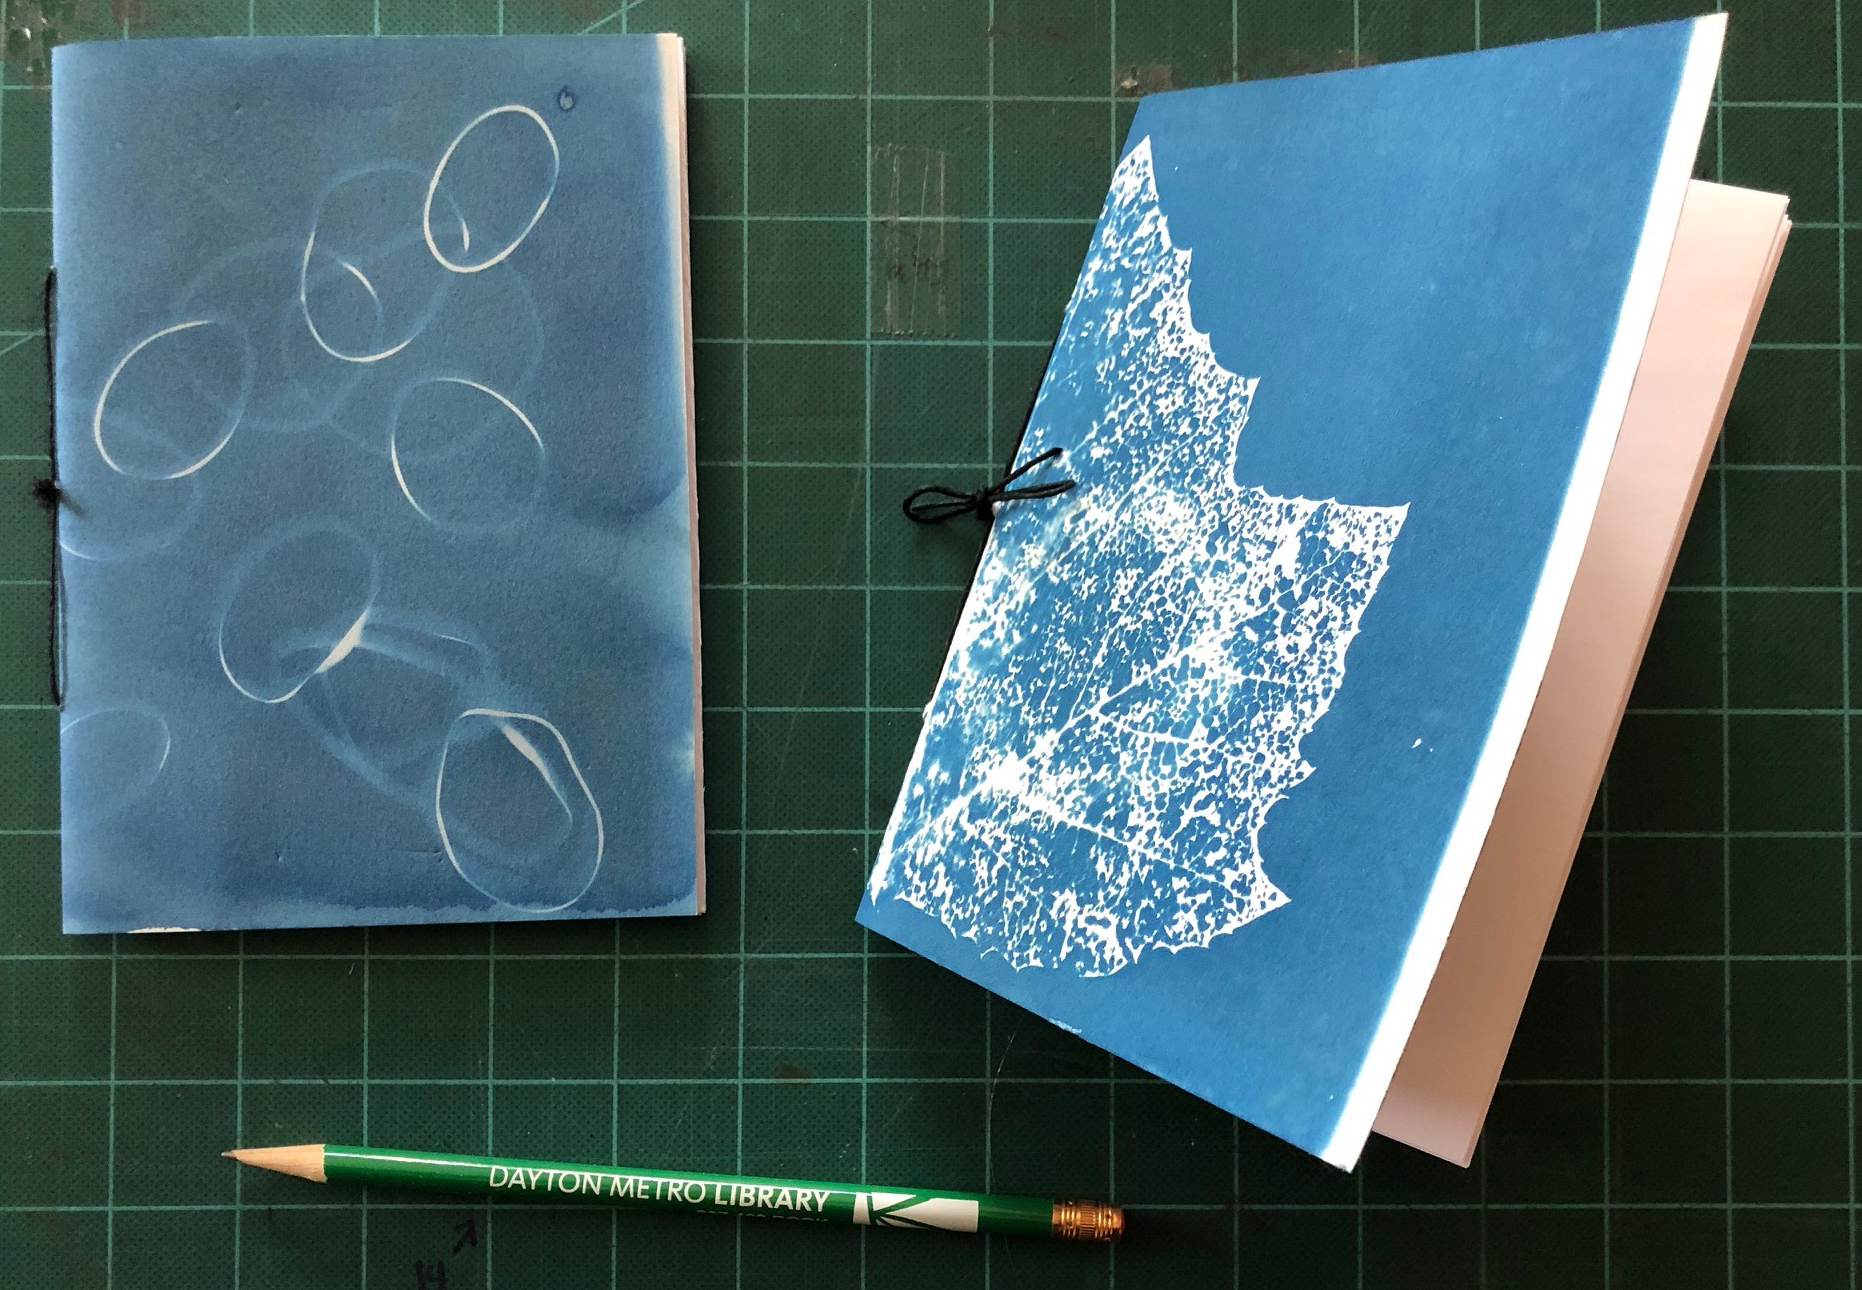
Step 8: Fold notebook closed and using a ruler and Xacto trim edges.
Voila! You just made your very own notebook – now write a story or draw a picture!


 Supplies:
 Supplies:
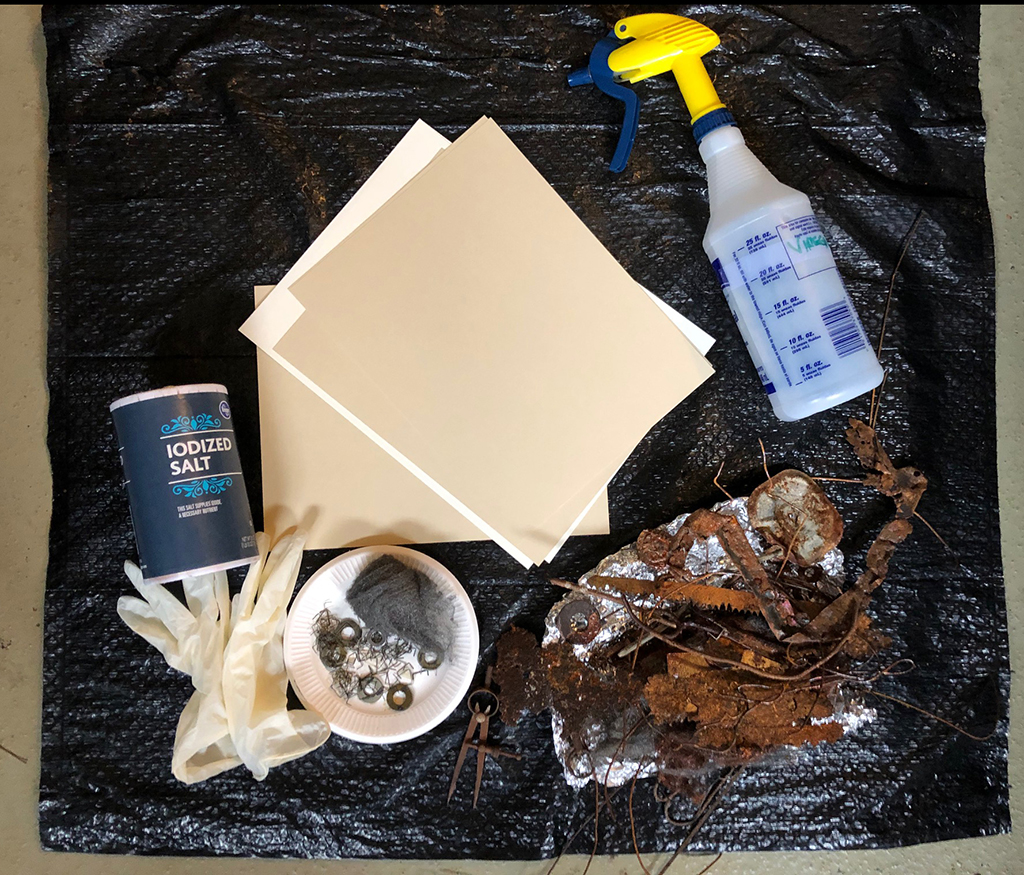
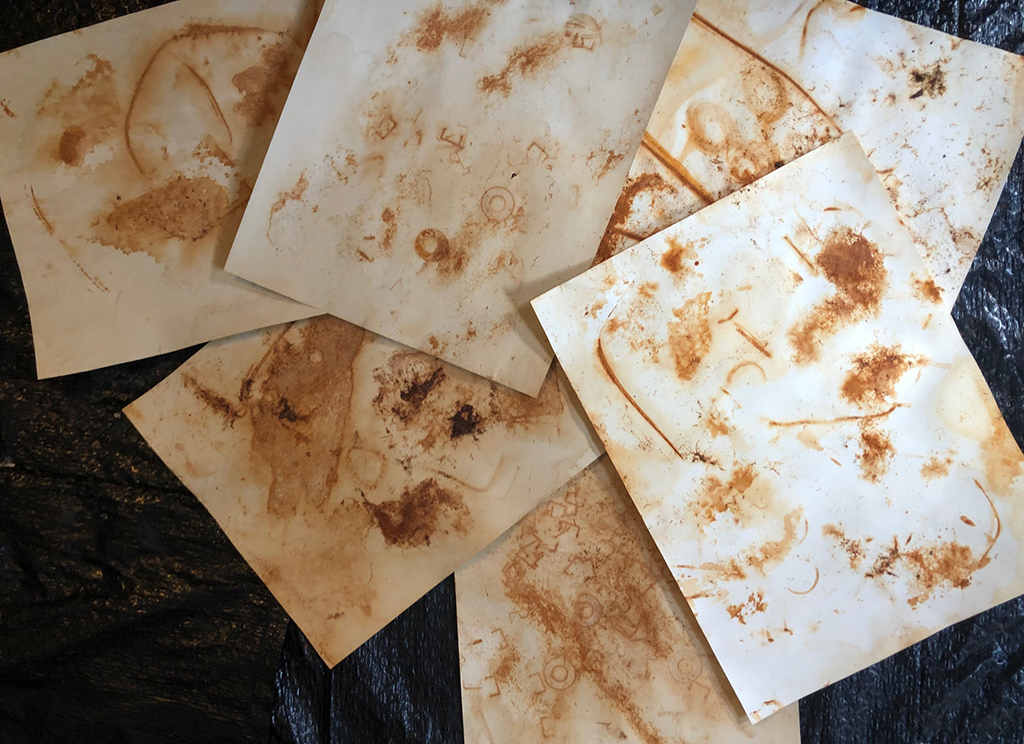
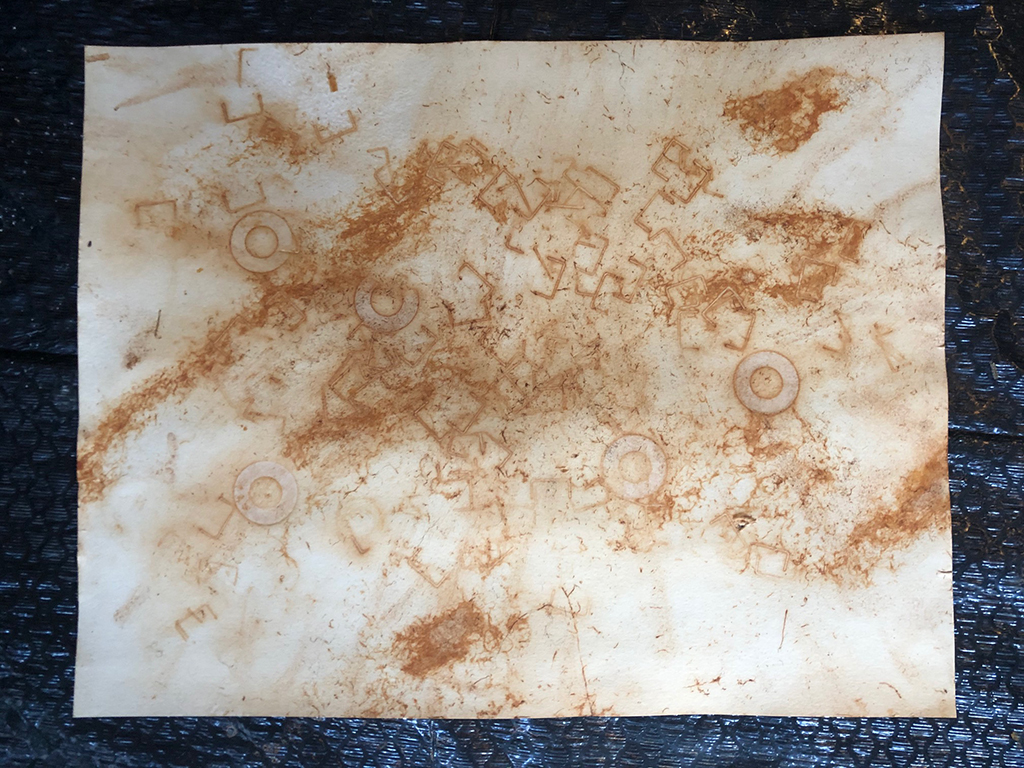
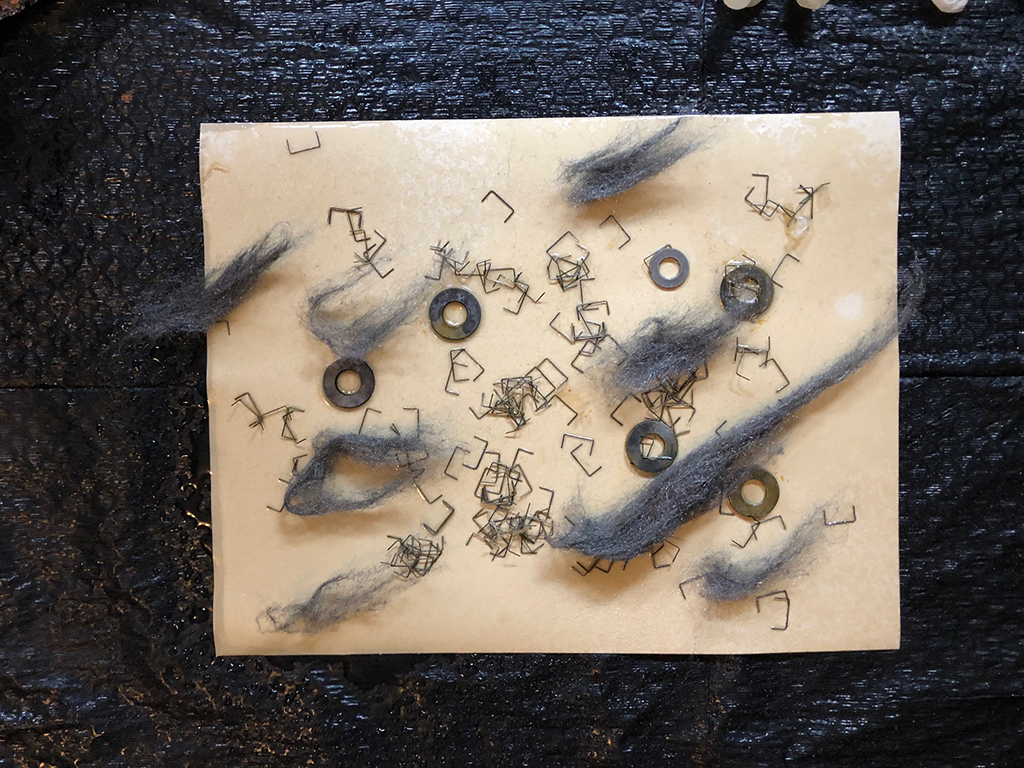 on top of the bag. Spritz the paper/fabric with the spray bottle of vinegar and water so that it is wet all over, from edge to edge. Sprinkle salt over the surface and then arrange your rusty bits on top. Spritz a second piece of paper and place the wet side down on top of the first sheet and cover it with a plastic bag. Weigh down the paper/fabric with books or other heavy items to keep them pressed together and let them sit for several hours. Check the paper/fabric occasionally to make sure that it has not dried; re-spritz as needed. When you get the desired effect of a rust print, undo your assembly and let the paper/fabric dry. Be careful to contain any fluid or rusty bits – they will leave stains. Once dry, place the paper under a book to flatten it. You now have a unique rust print!
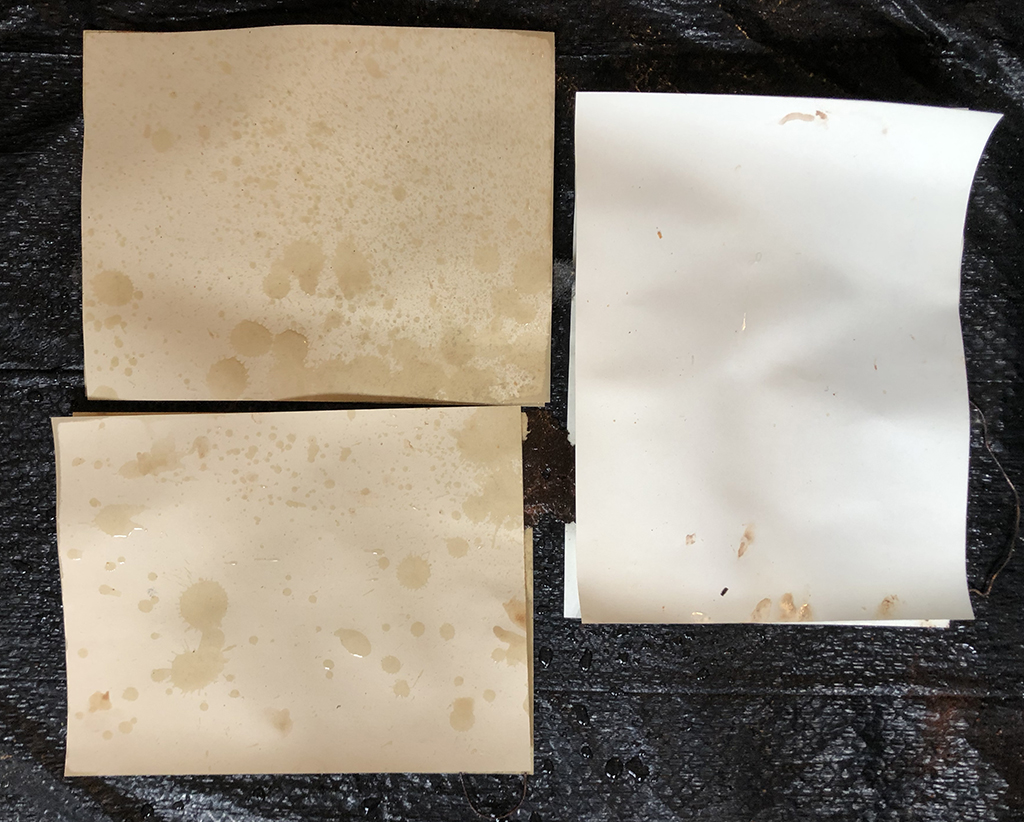
 Materials
 Materials:
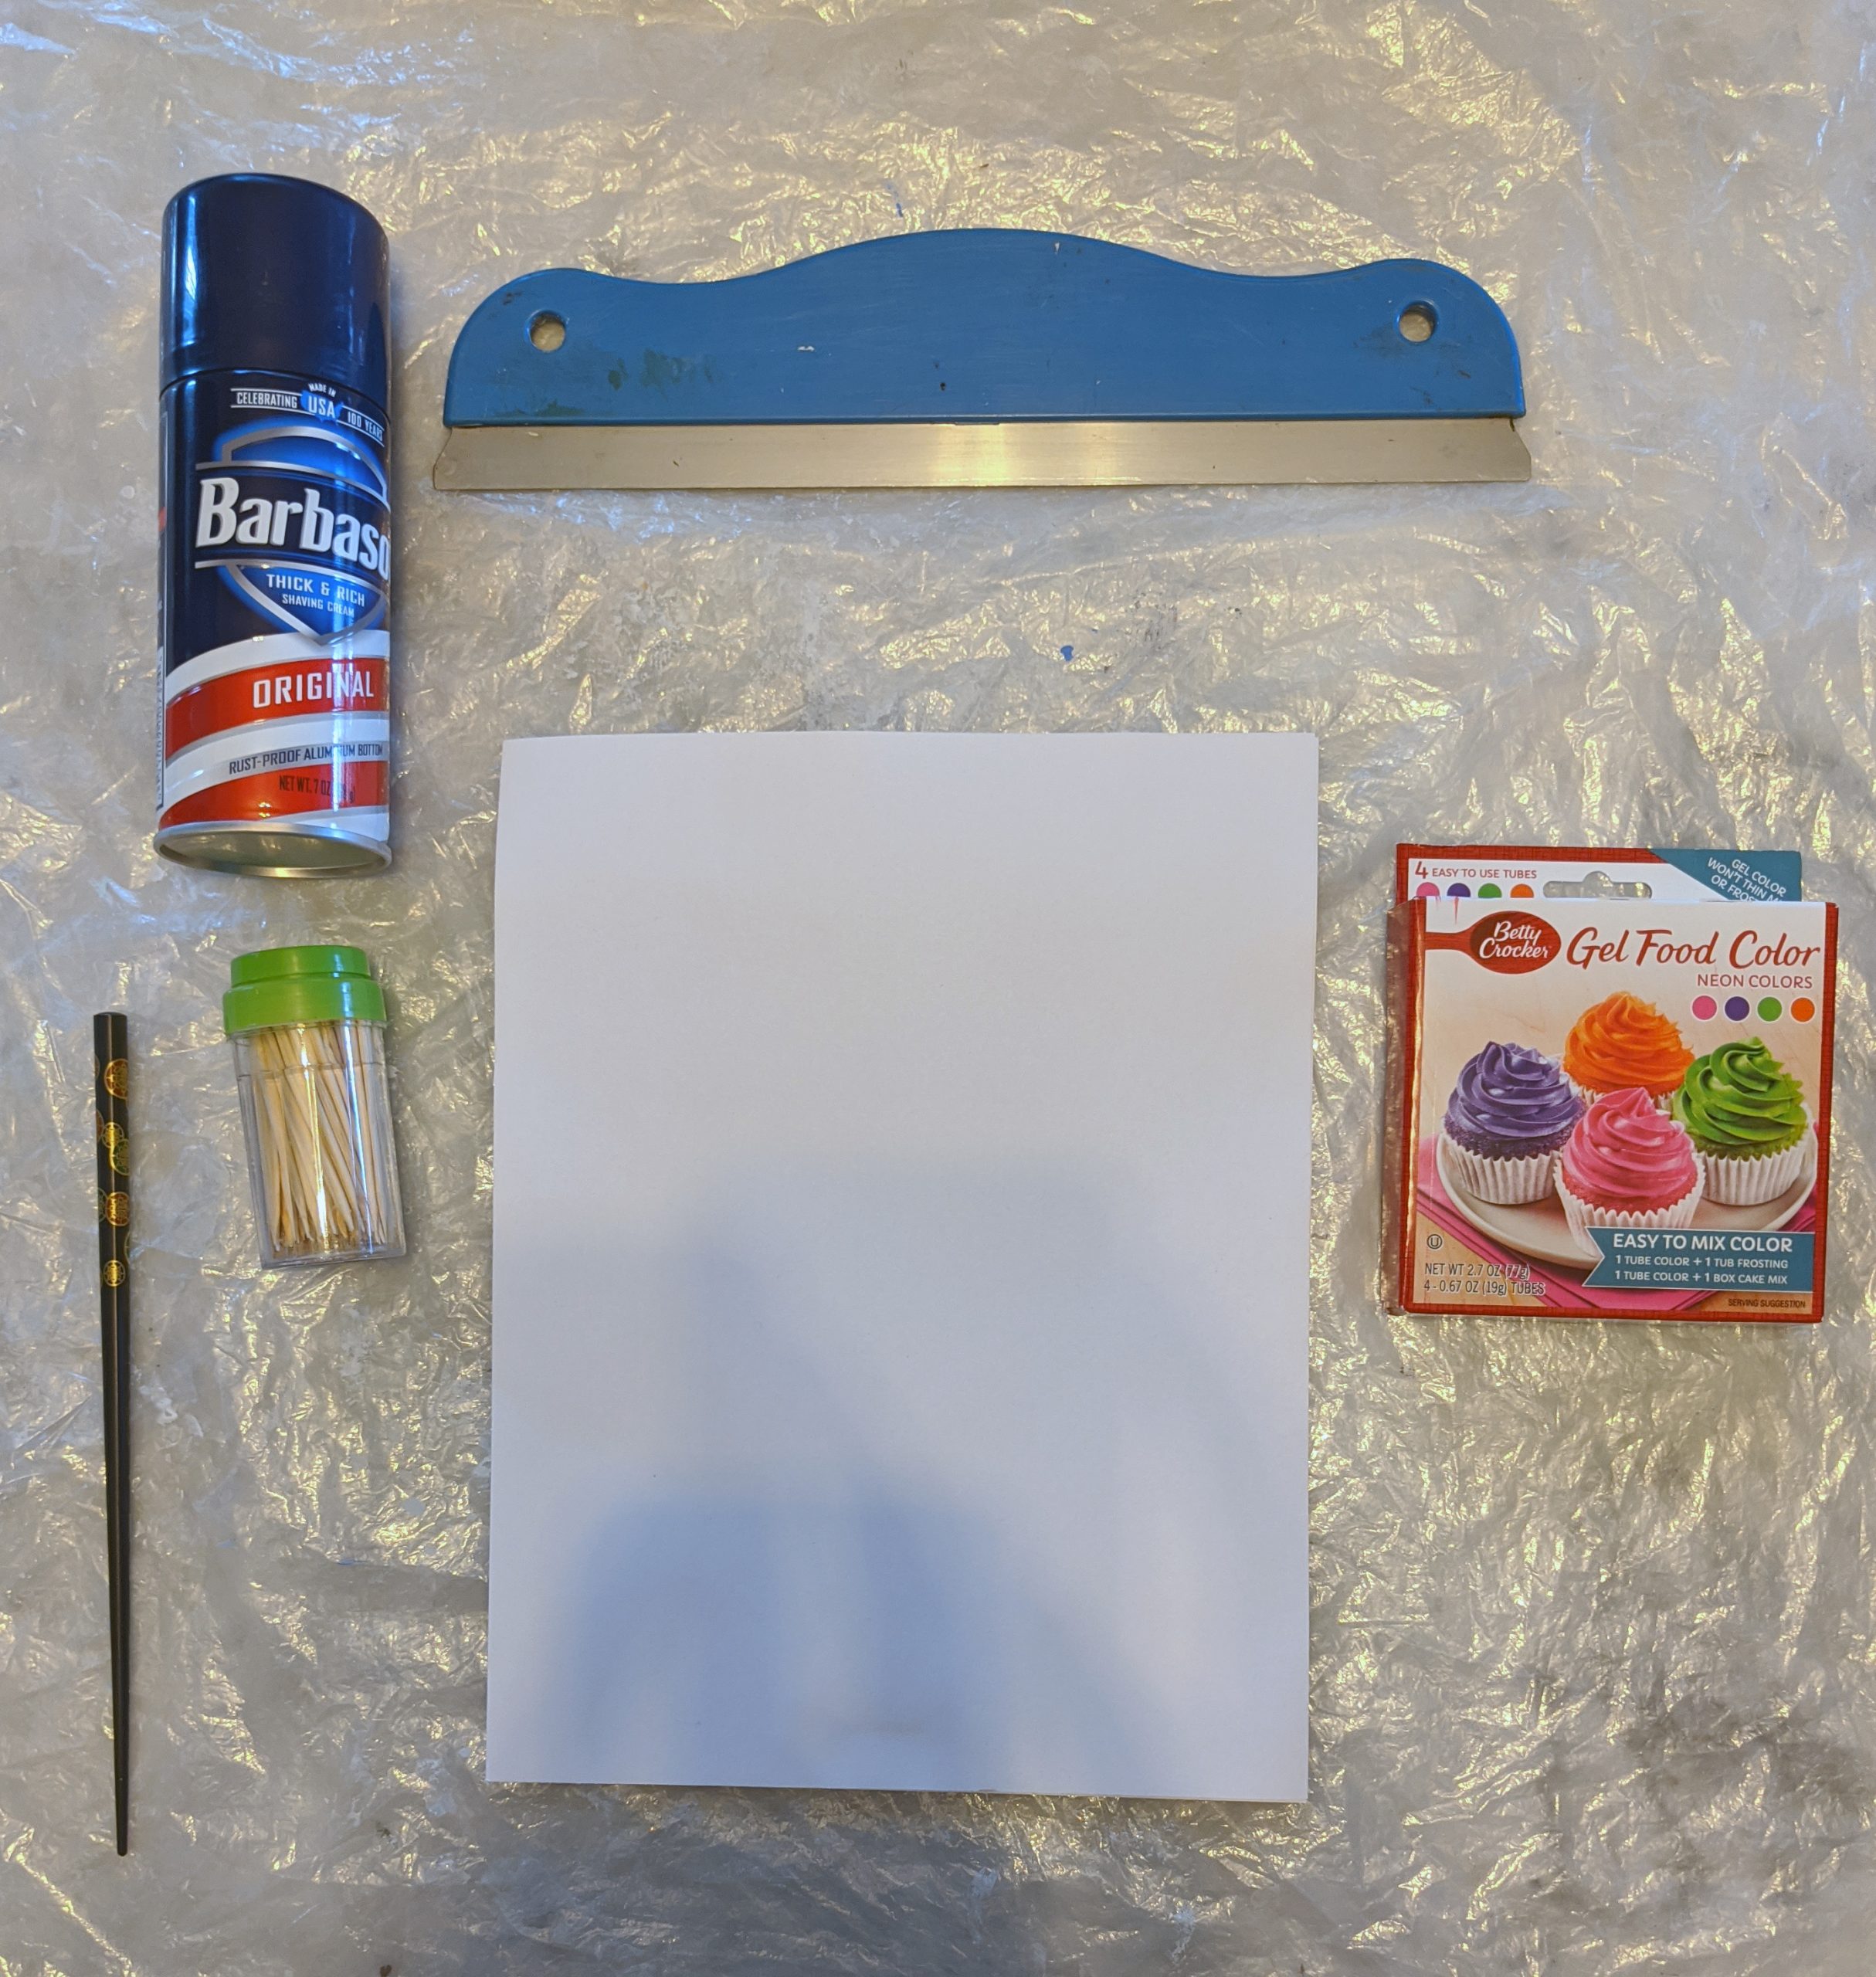
 My materials:
 Materials:
 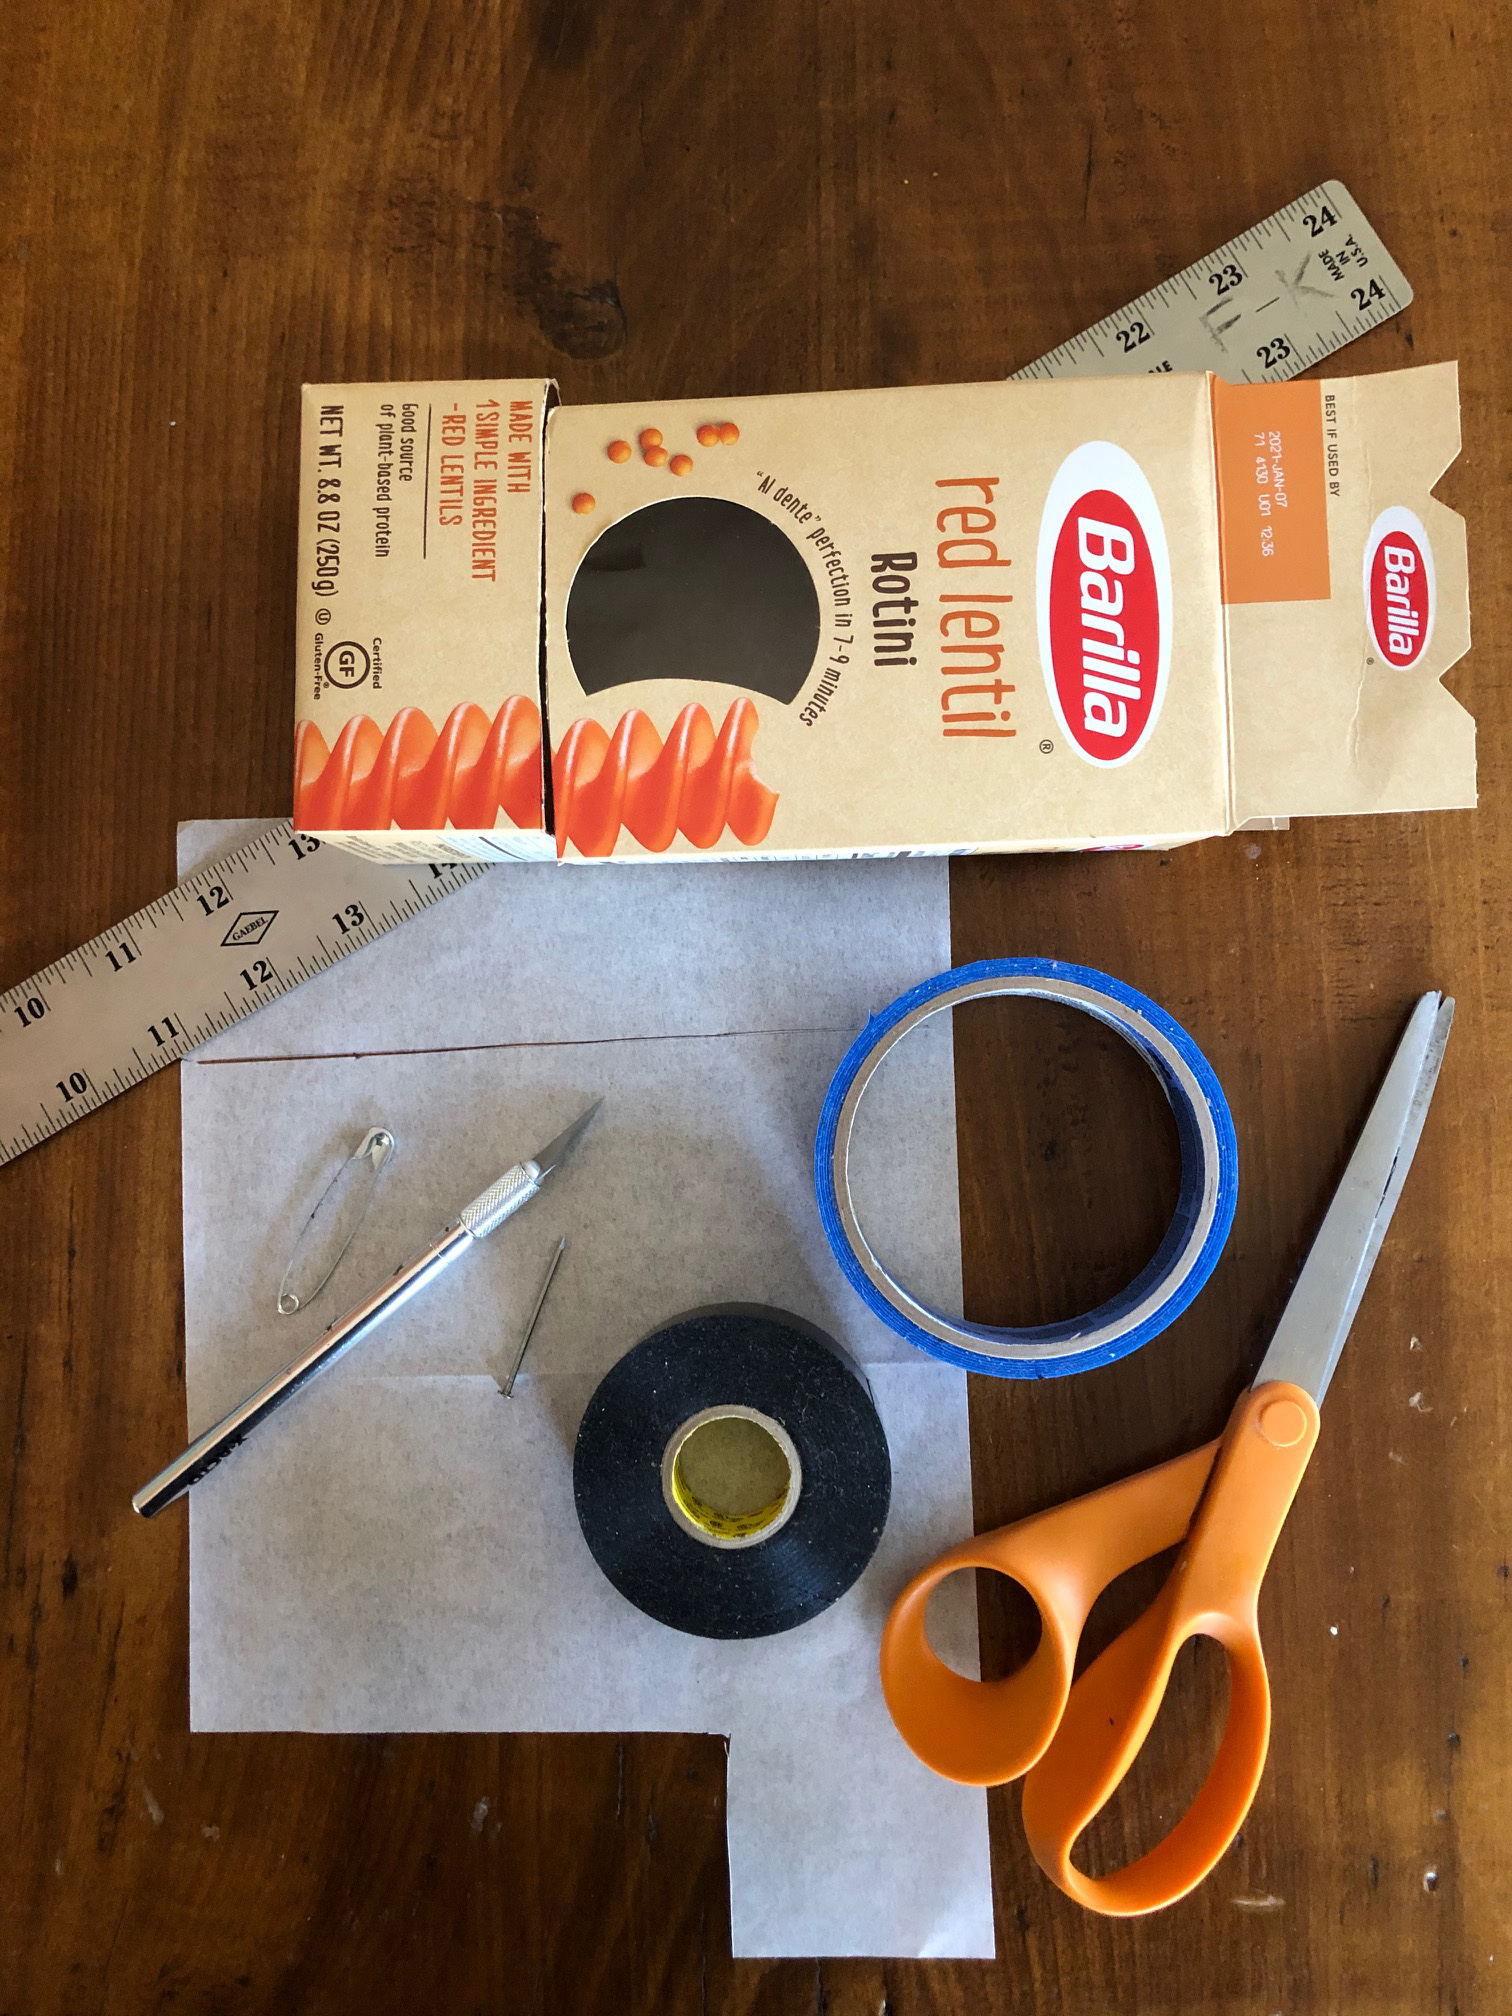 You will need:
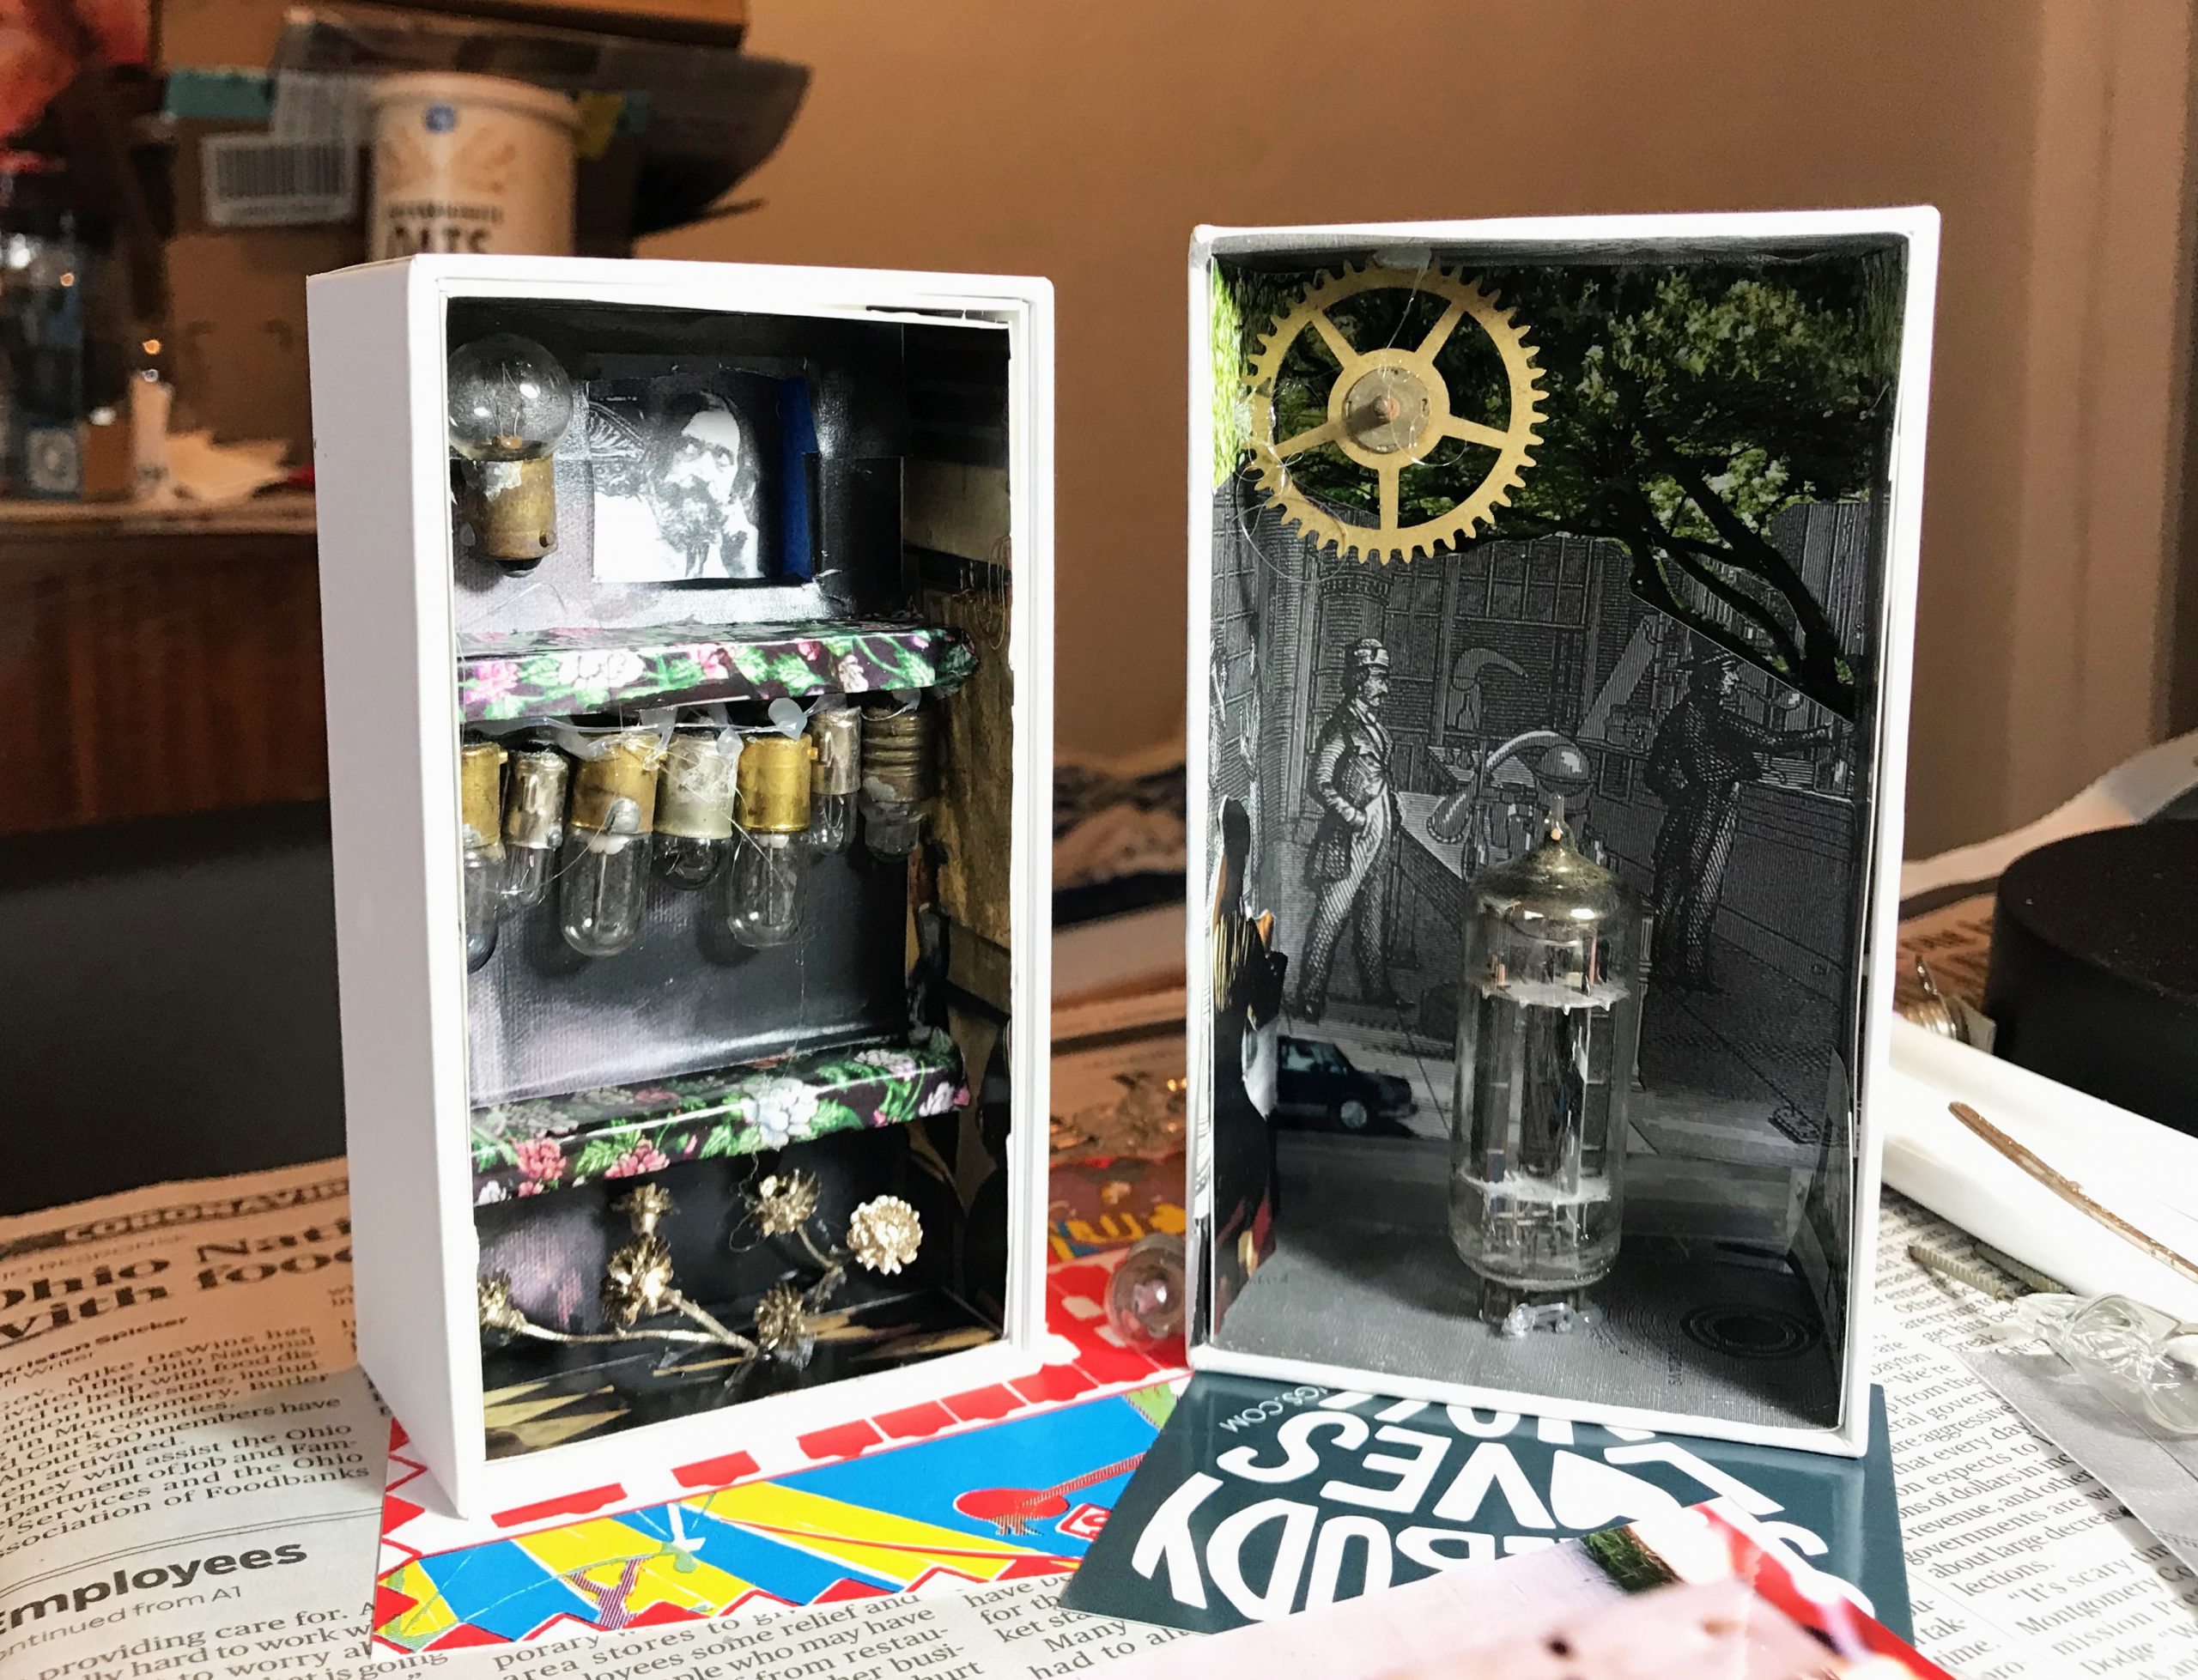
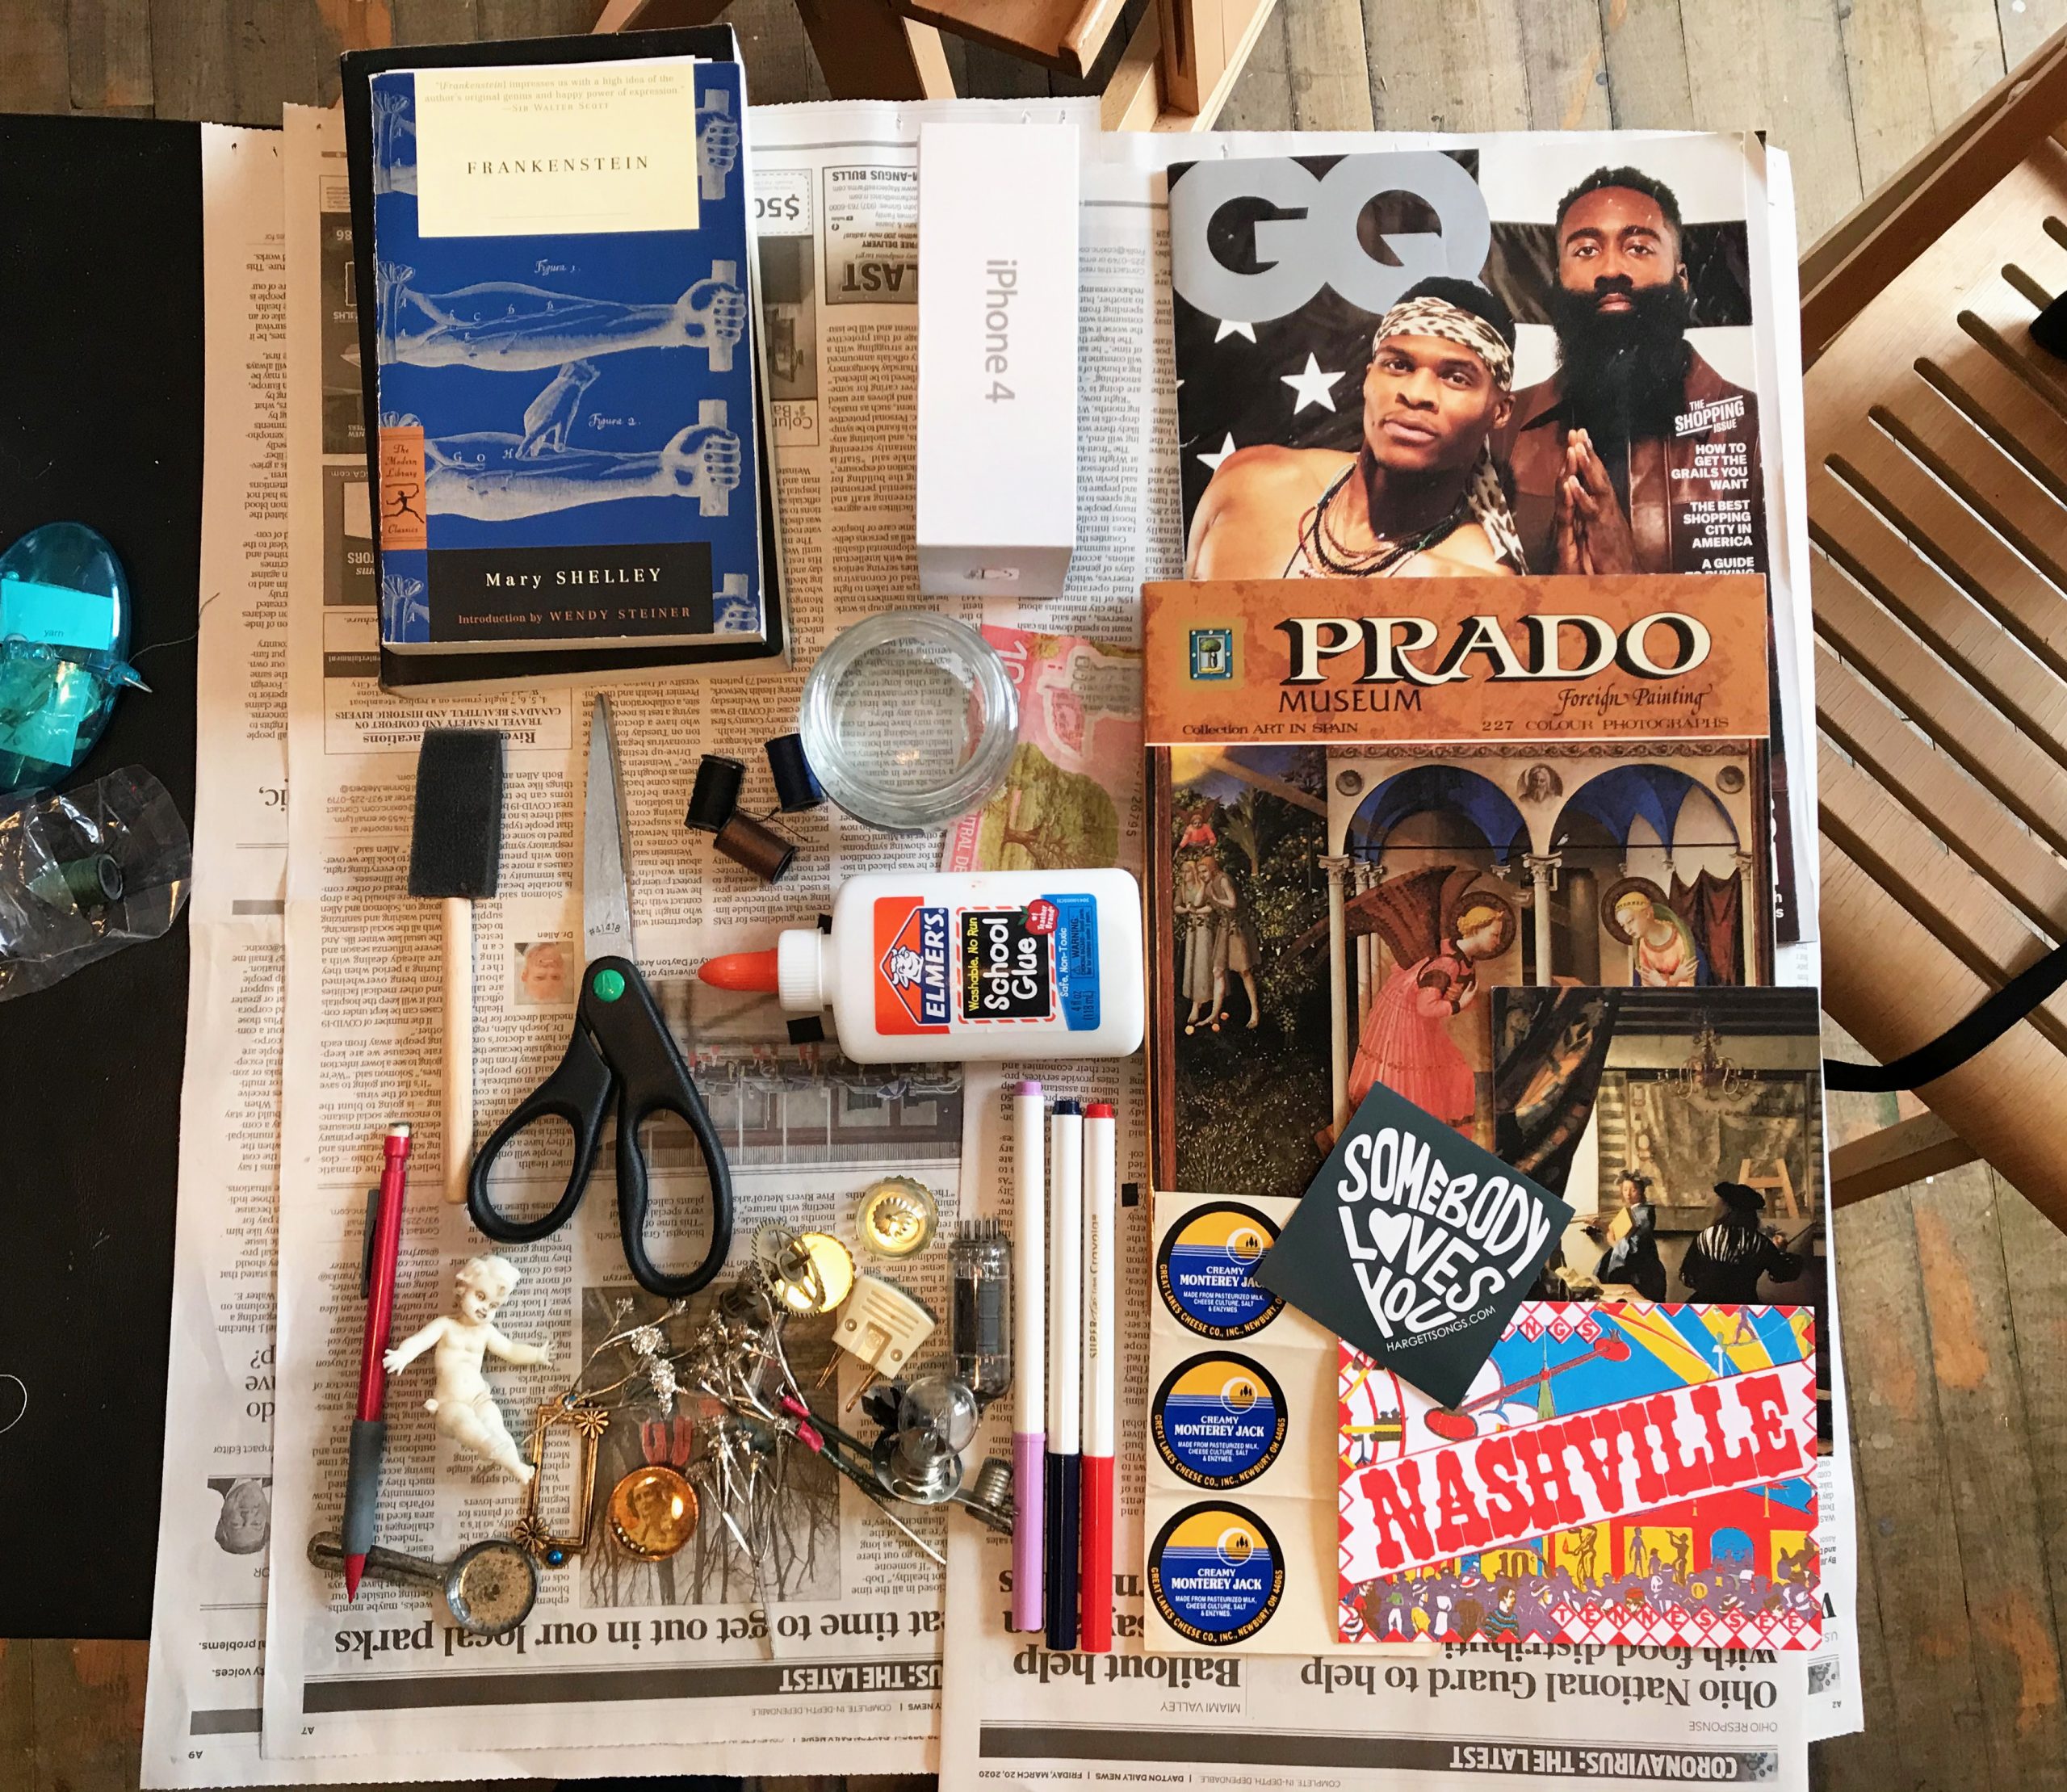 Needing a break from screens and desiring a hands-on activity, I created a fun and easy artwork using materials found around the house. I picked up one of my favorite books, Mary Shelley’s Frankenstein, and artist Joseph Cornell’s “boxed assemblages” for guidance.