Rosewood Gallery Coordinator, Paula Wilmot Kraus, provided this awesome DIY Camera Obscura project. This fun activity is part-art and part-science, just in time for International Pinhole Day on April 26! Camera obscura, which is Latin for dark chamber, is the basis for all modern cameras.
 You will need:
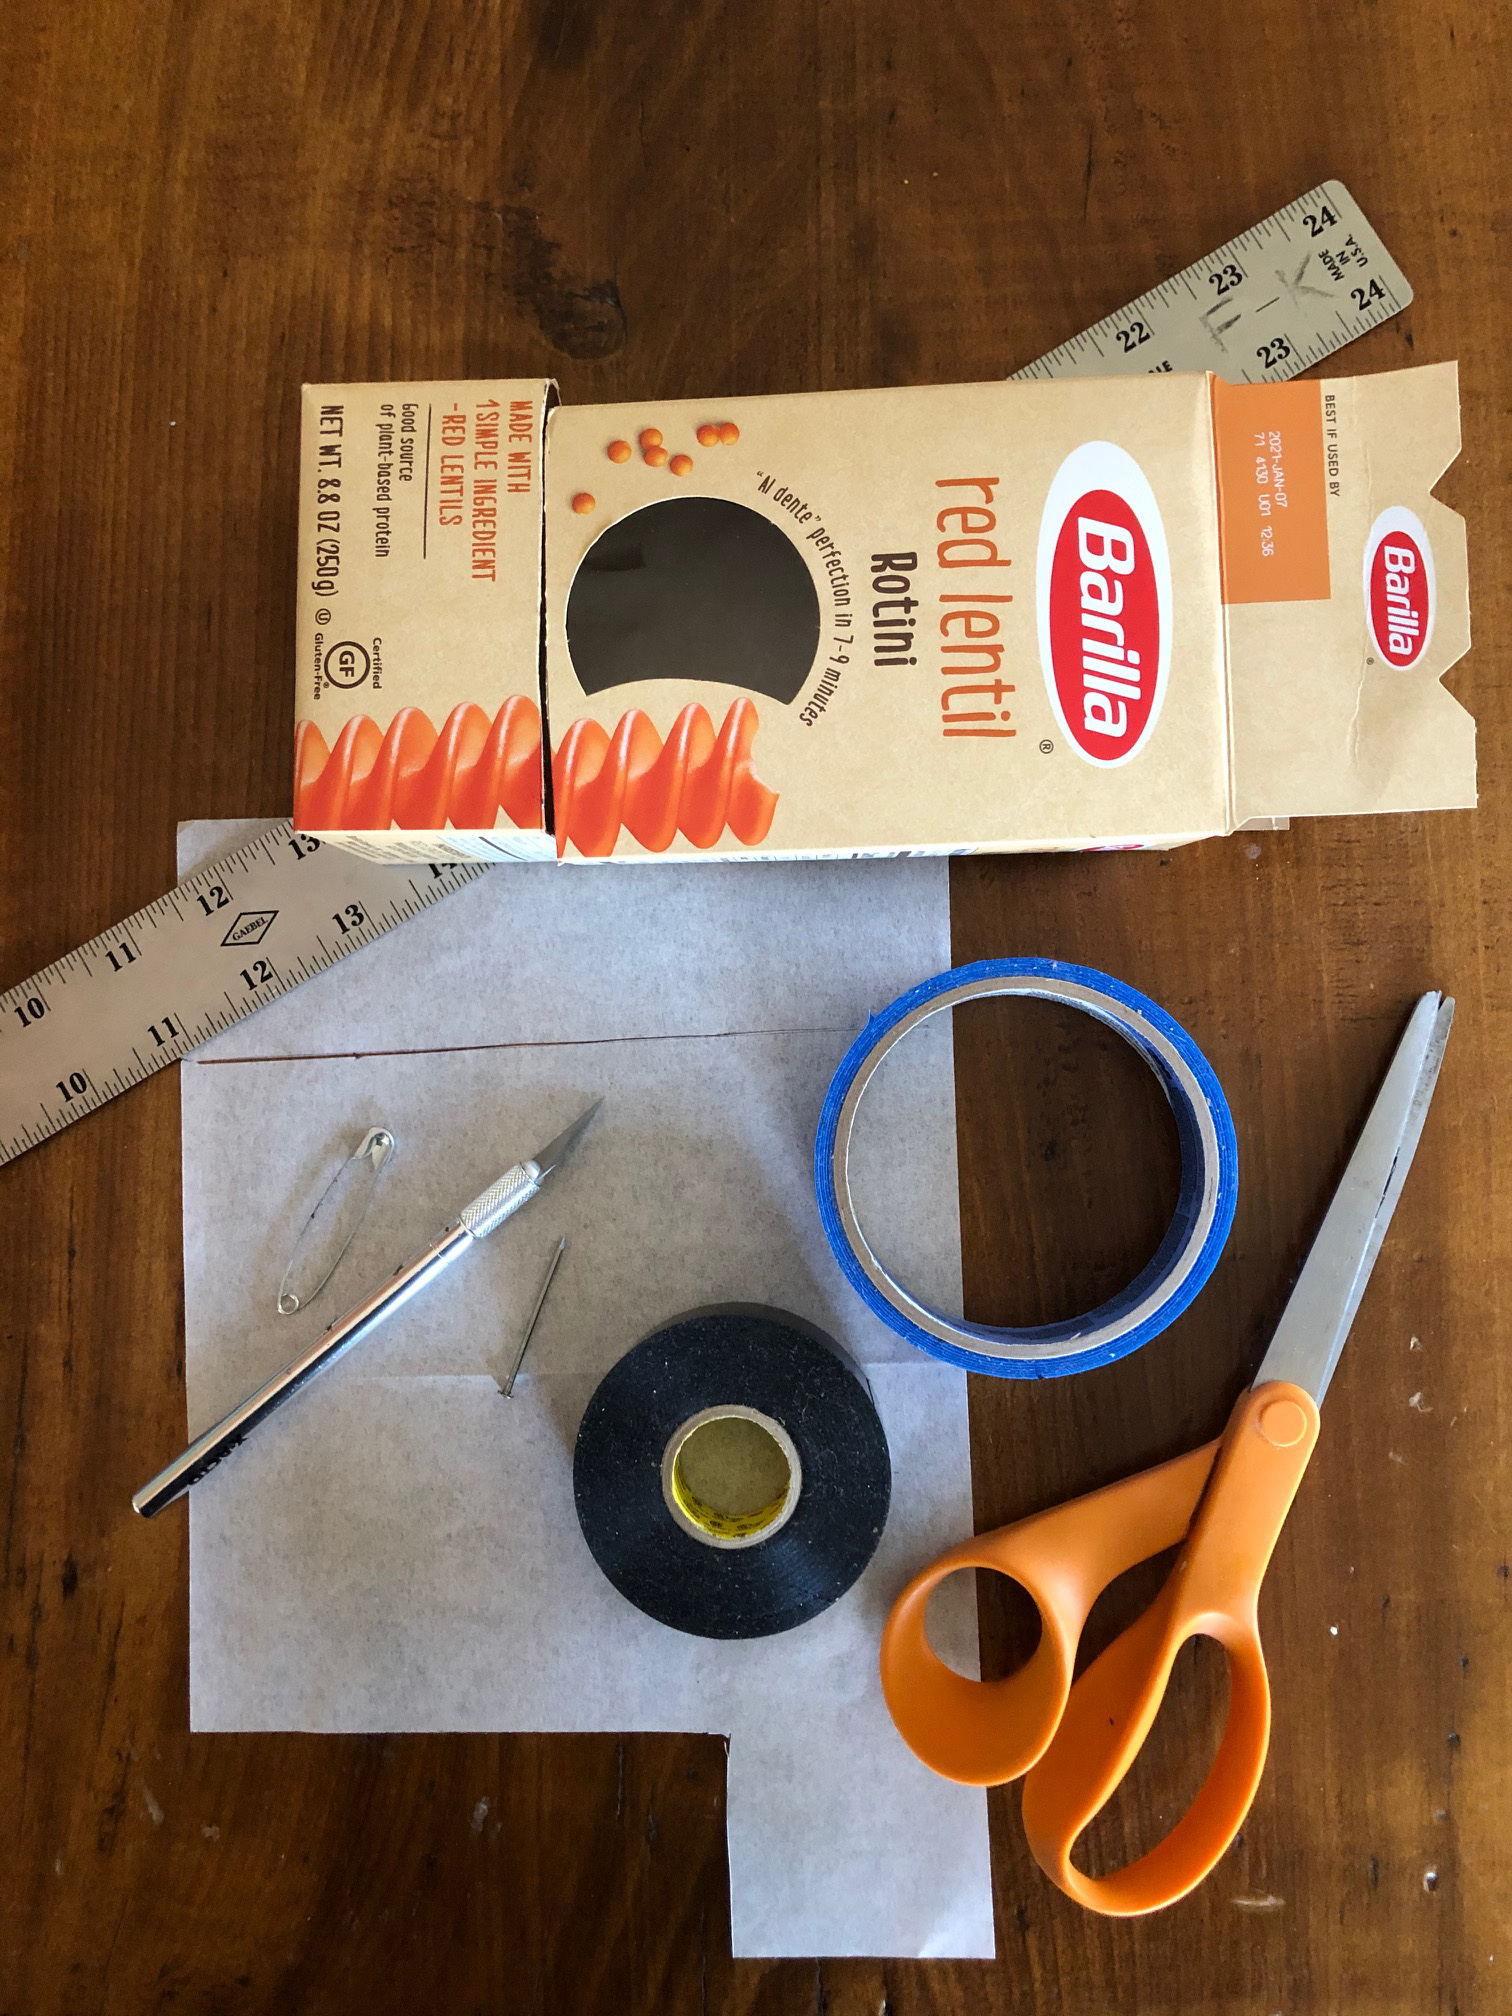
Box: (cereal box works great)
Tape: black electrical tape or masking tape.
Tracing paper or other thin wax or parchment paper
Exacto knife
Scissors
Pushpin or small nail
1: Empty box. Make a hole using your pushpin in the middle of the unopened end.
2: Cut tracing paper the height of — but wider than — the box.
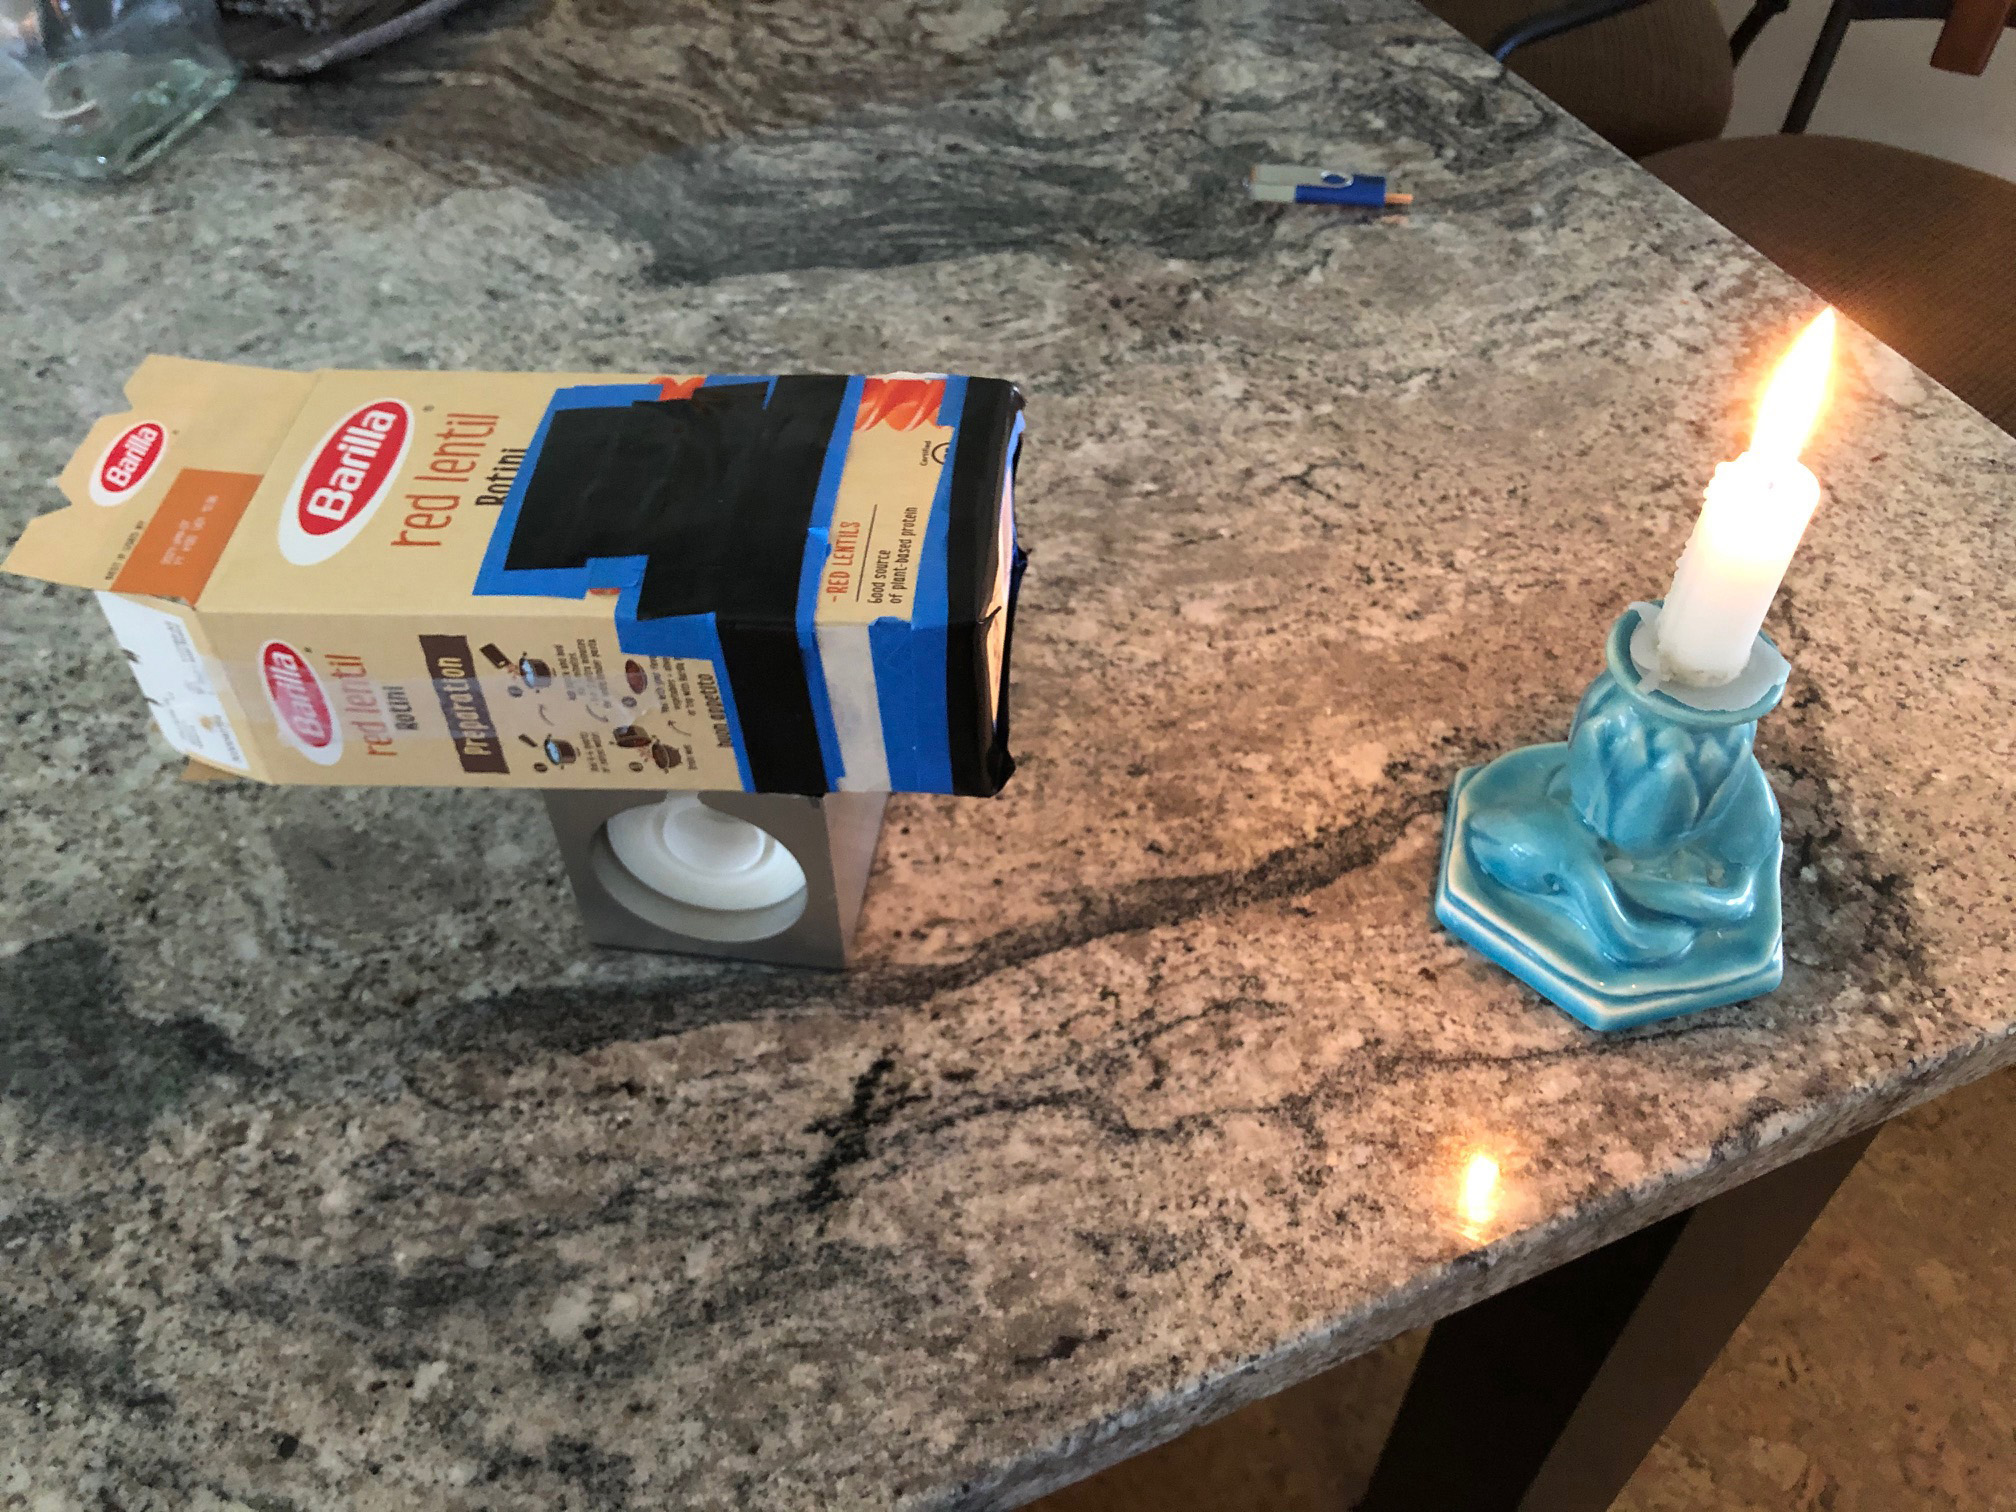
3: One-third of the way from the pinhole end cut a 3-sided slit in the box to create a little “mouth”.
4: Stretch tracing paper across the “mouth”. Tape ends, stretching it tight.
5: Tape slit back together so box is light-tight with the exception of the opening.
6: Look into the box and identify light leaks, tape where needed. I had to add some on the window in the box.
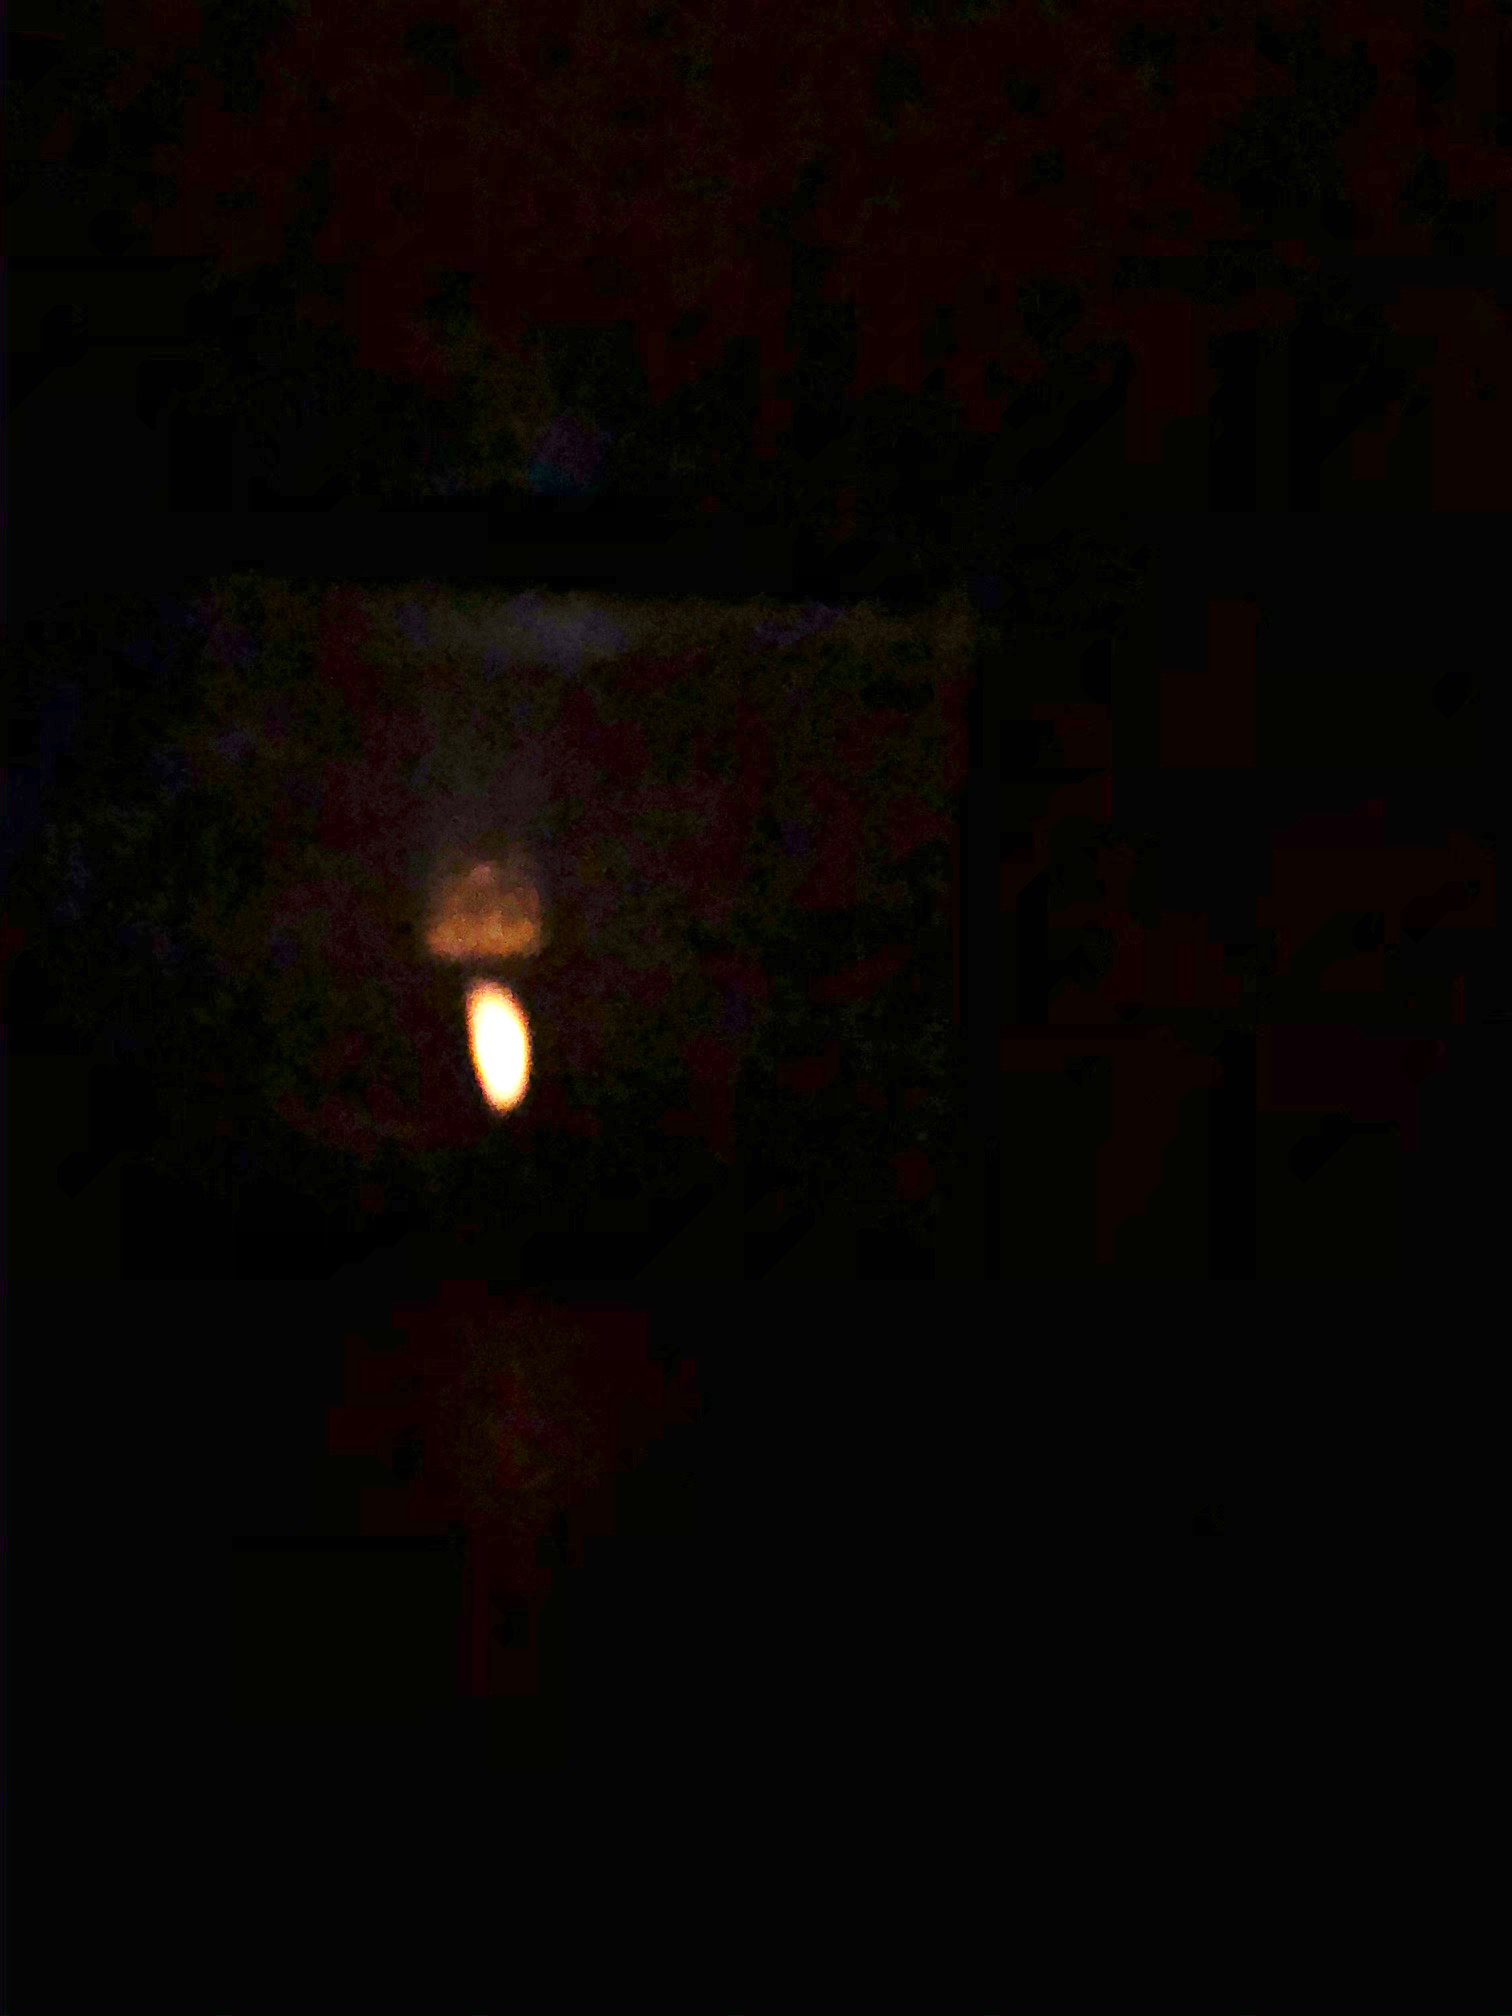
Now use your camera obscura! Put the opening up to your eyes and look toward a bright area of light (it works best on a sunny day). It will take a minute to get the sense of what you are seeing — this is where the science comes in. The image will be upside down.
If you are having trouble seeing an image, make the hole larger by wiggling the nail in the hole to enlarge it.