Windy spring days are ahead, and Gallery Coordinator Paula Wilmot Kraus has just the thing to make the most of them – homemade kites!
When my brothers and I were young we often just made our own kites. It’s simple!
 Materials:
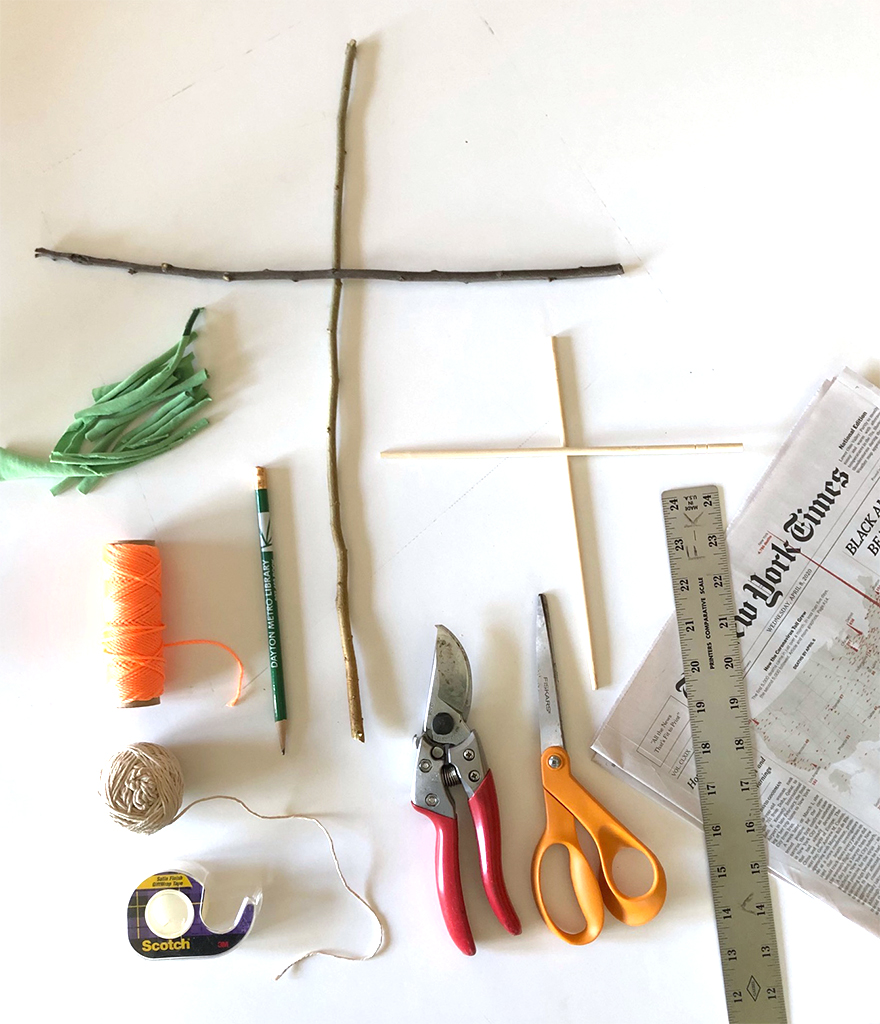
- Sticks (straight and thin)
- A spool of string
- Scissors
- Adhesive tape
- Paper (newspaper, wrapping paper, or tissue paper)
- Crayons, stickers, or other materials for decoration
- Strips of fabric
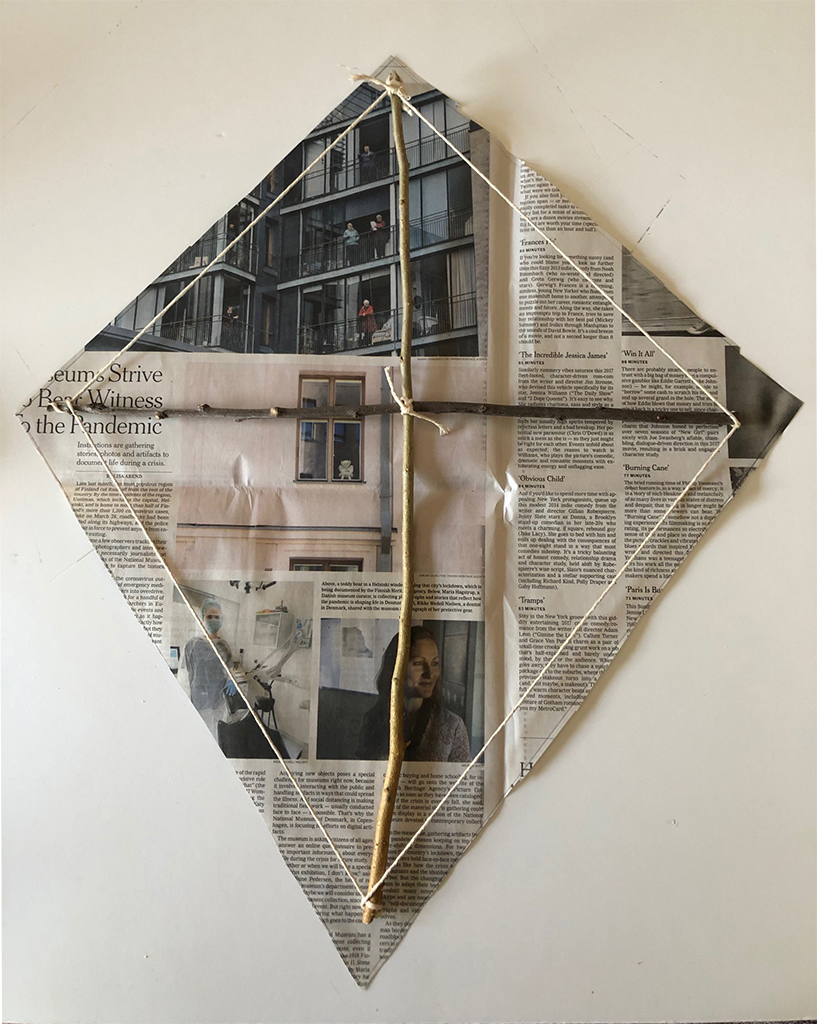
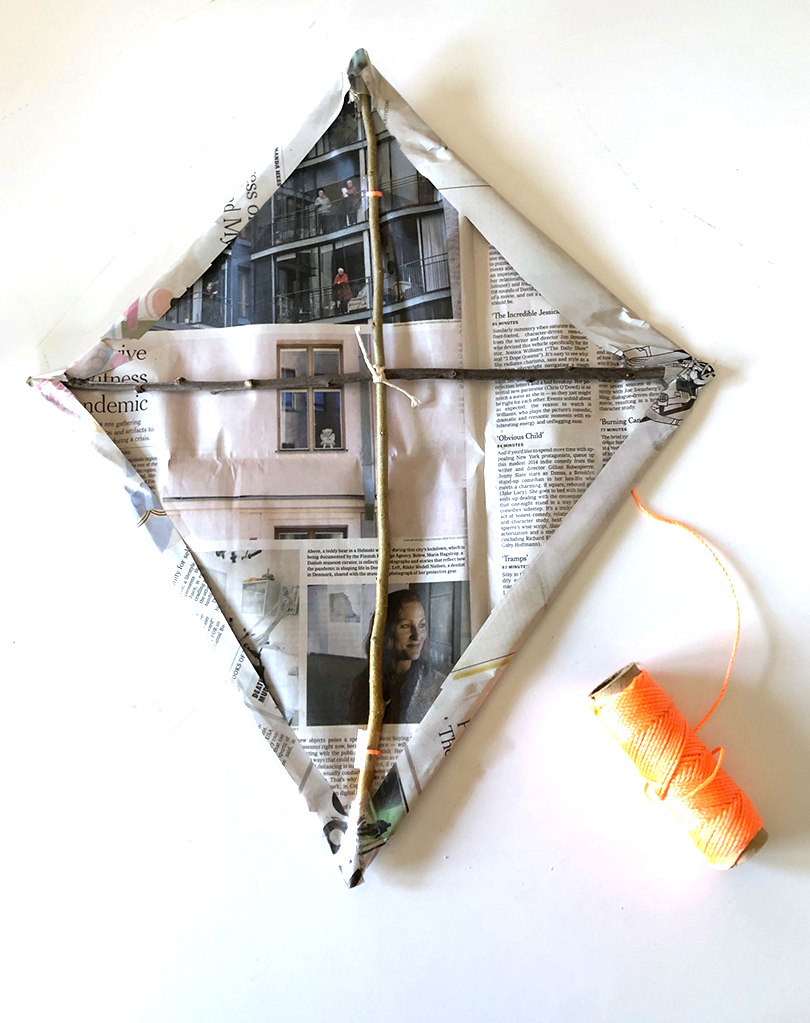
Make your kite frame by arranging the sticks into a cross and tie together with string. Stretch the string to the end of one of your sticks to create a diamond shape, each time tying the string around the ends. Tie and cut the string when you are back at the first stick end.
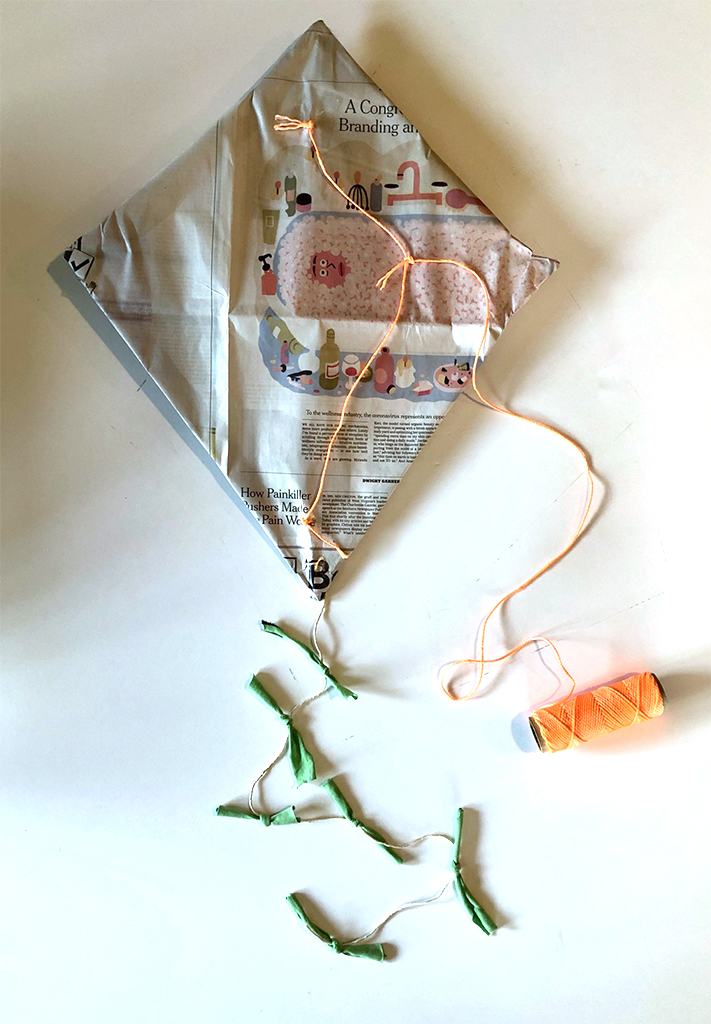
Place your paper under the kite frame and mark the outside of the diamond with an extra inch. Cut the paper and decorate as desired. Fold the paper edges over the string and tape them shut. Poke two holes through the paper near the top and bottom on either side of the vertical stick. Thread the string through the holes and cut and tie them taunt.
Create a kite tail by punching a hole at the bottom of your kite and adding a long piece of string. Decorate the tail by adding strips of fabric. Tape up all holes in the paper.
Tie the end of your string spool to the taunt string running from the kite’s top and bottom. It will find its “center” when you fly the kite. Now all you need is an open field, good weather and some wind!