Make your own animation come alive by creating a zoetrope! Zoetrope was one of the first techniques to create a “movie,” and stop motion photographs and illustrations are often used to create a moving image! Our Gallery Coordinator, Paula Wilmot Kraus, put together this tutorial.
 Supplies:
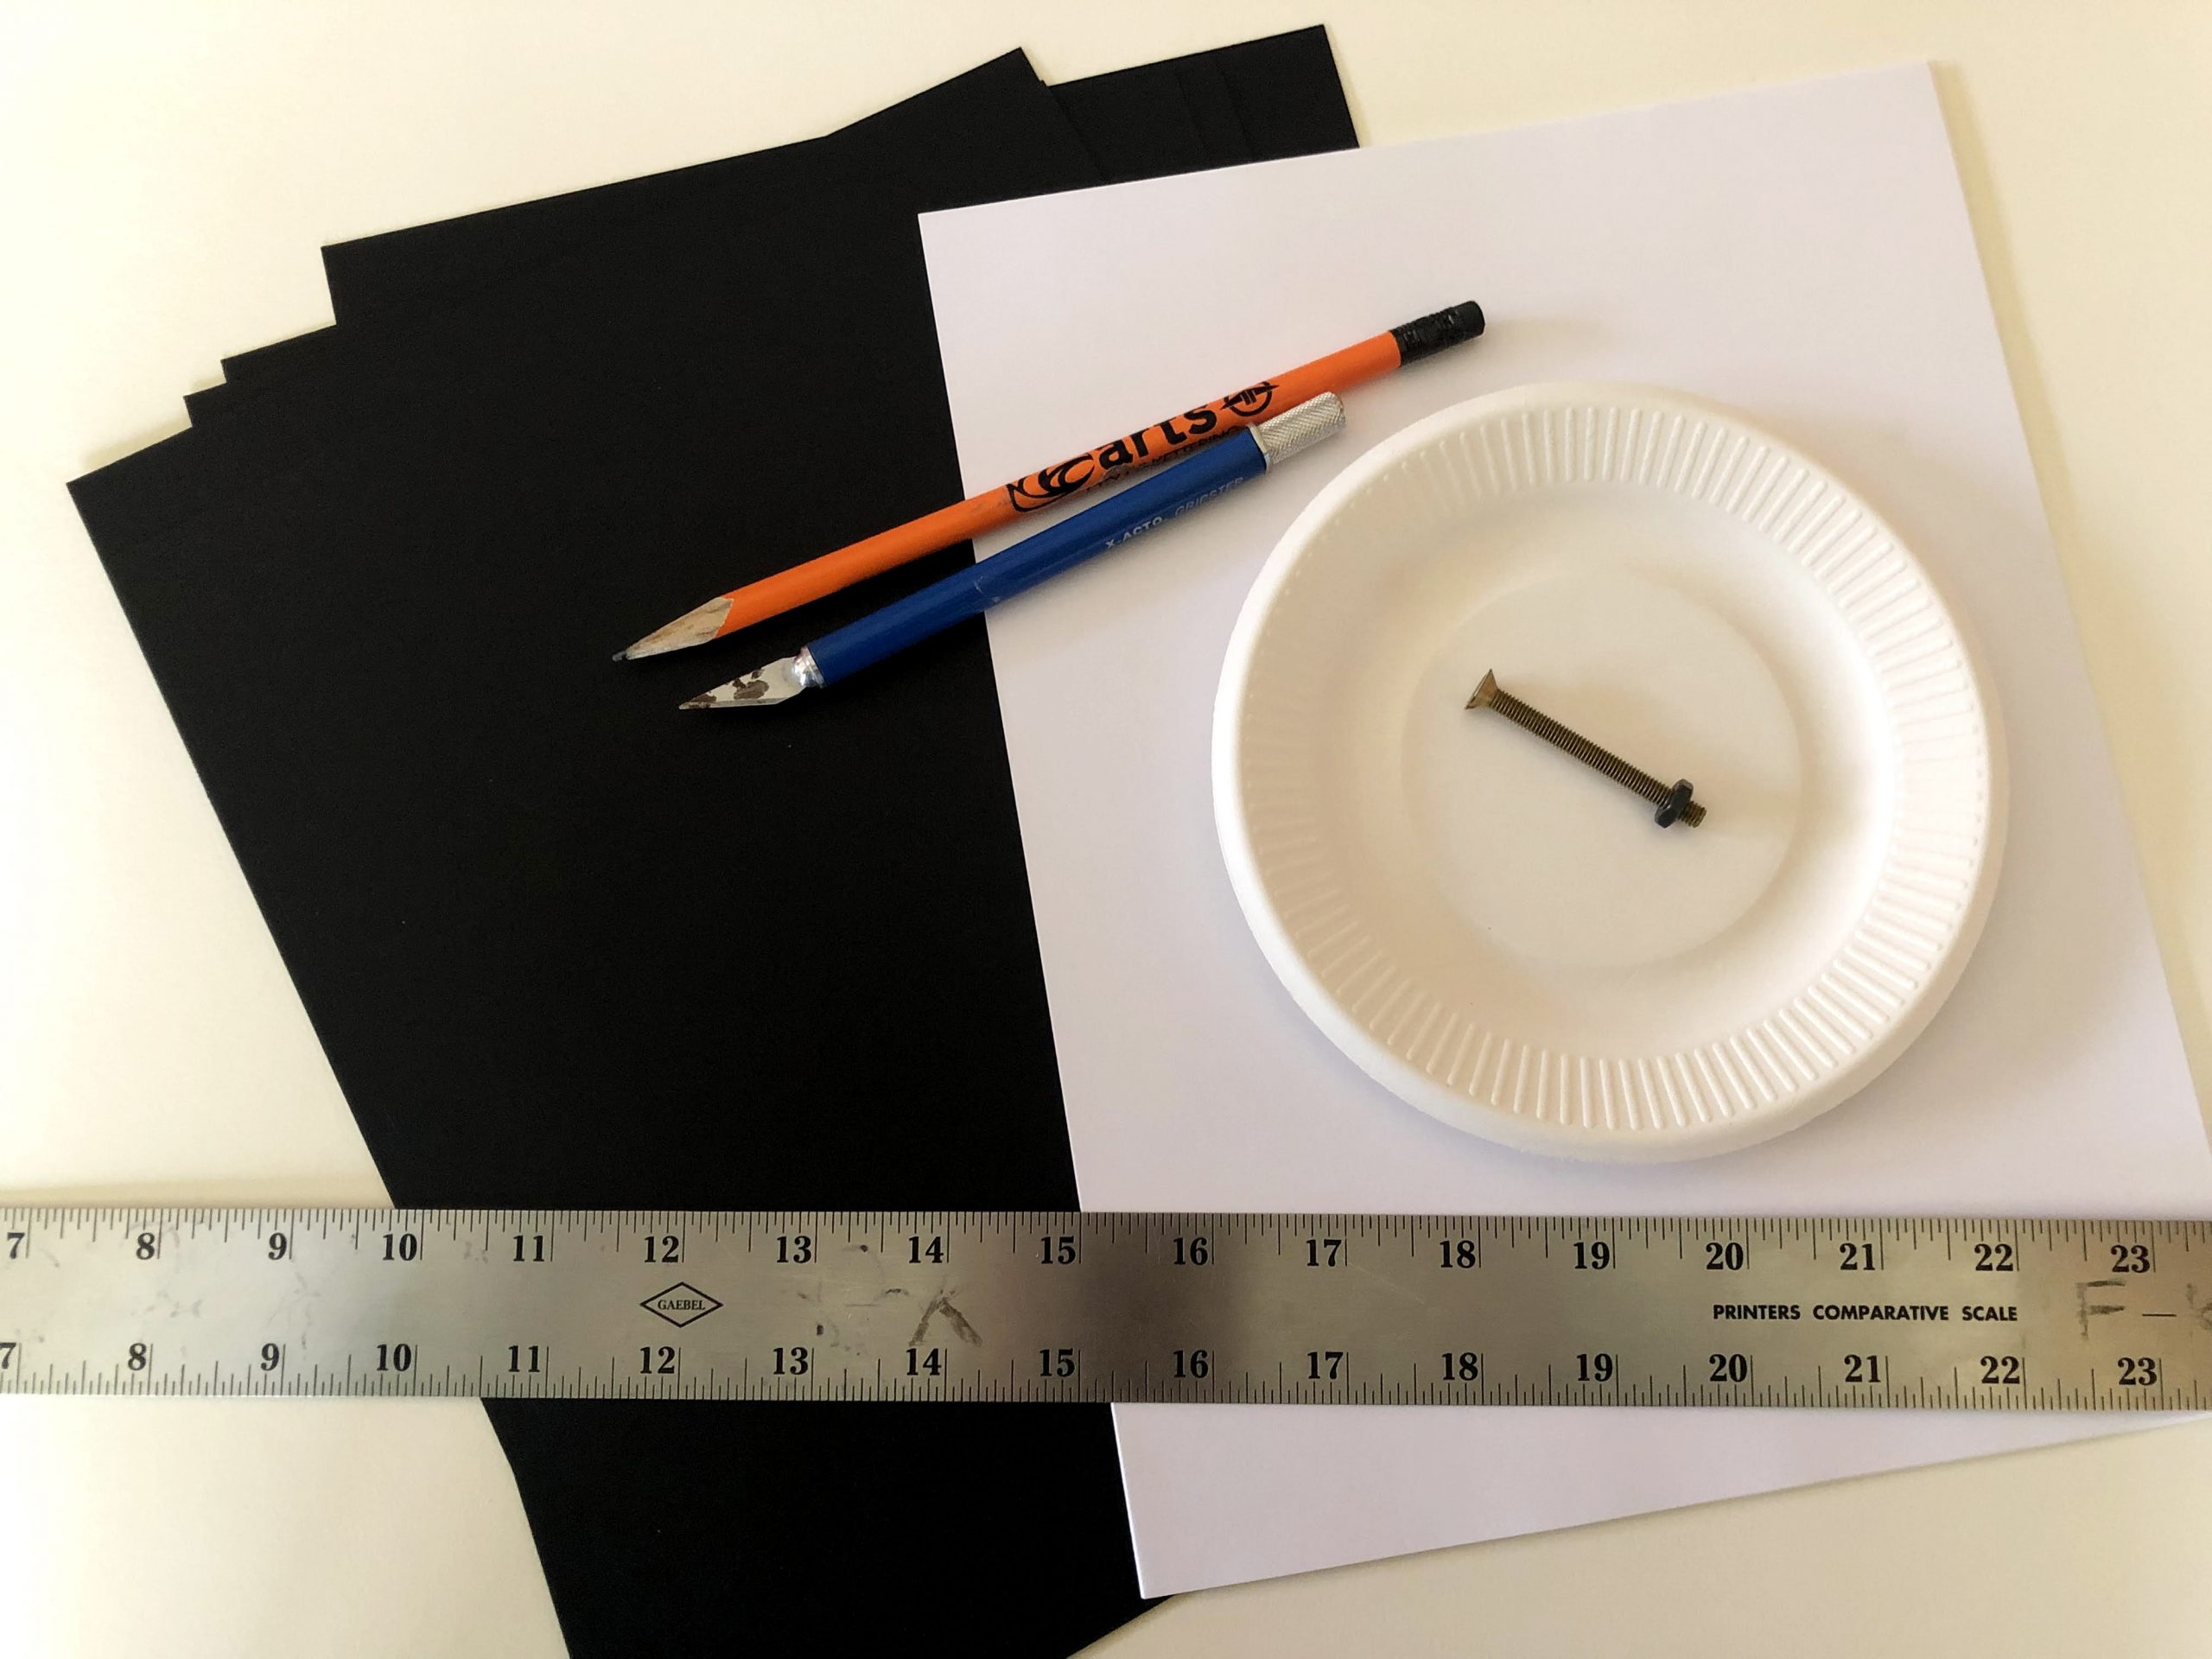
- Pencil
- Ruler
- Black heavy weight or painted paper
- White paper
- Bolt with nut or pencil
- Paper plate
- Scotch tape
- Utility knife
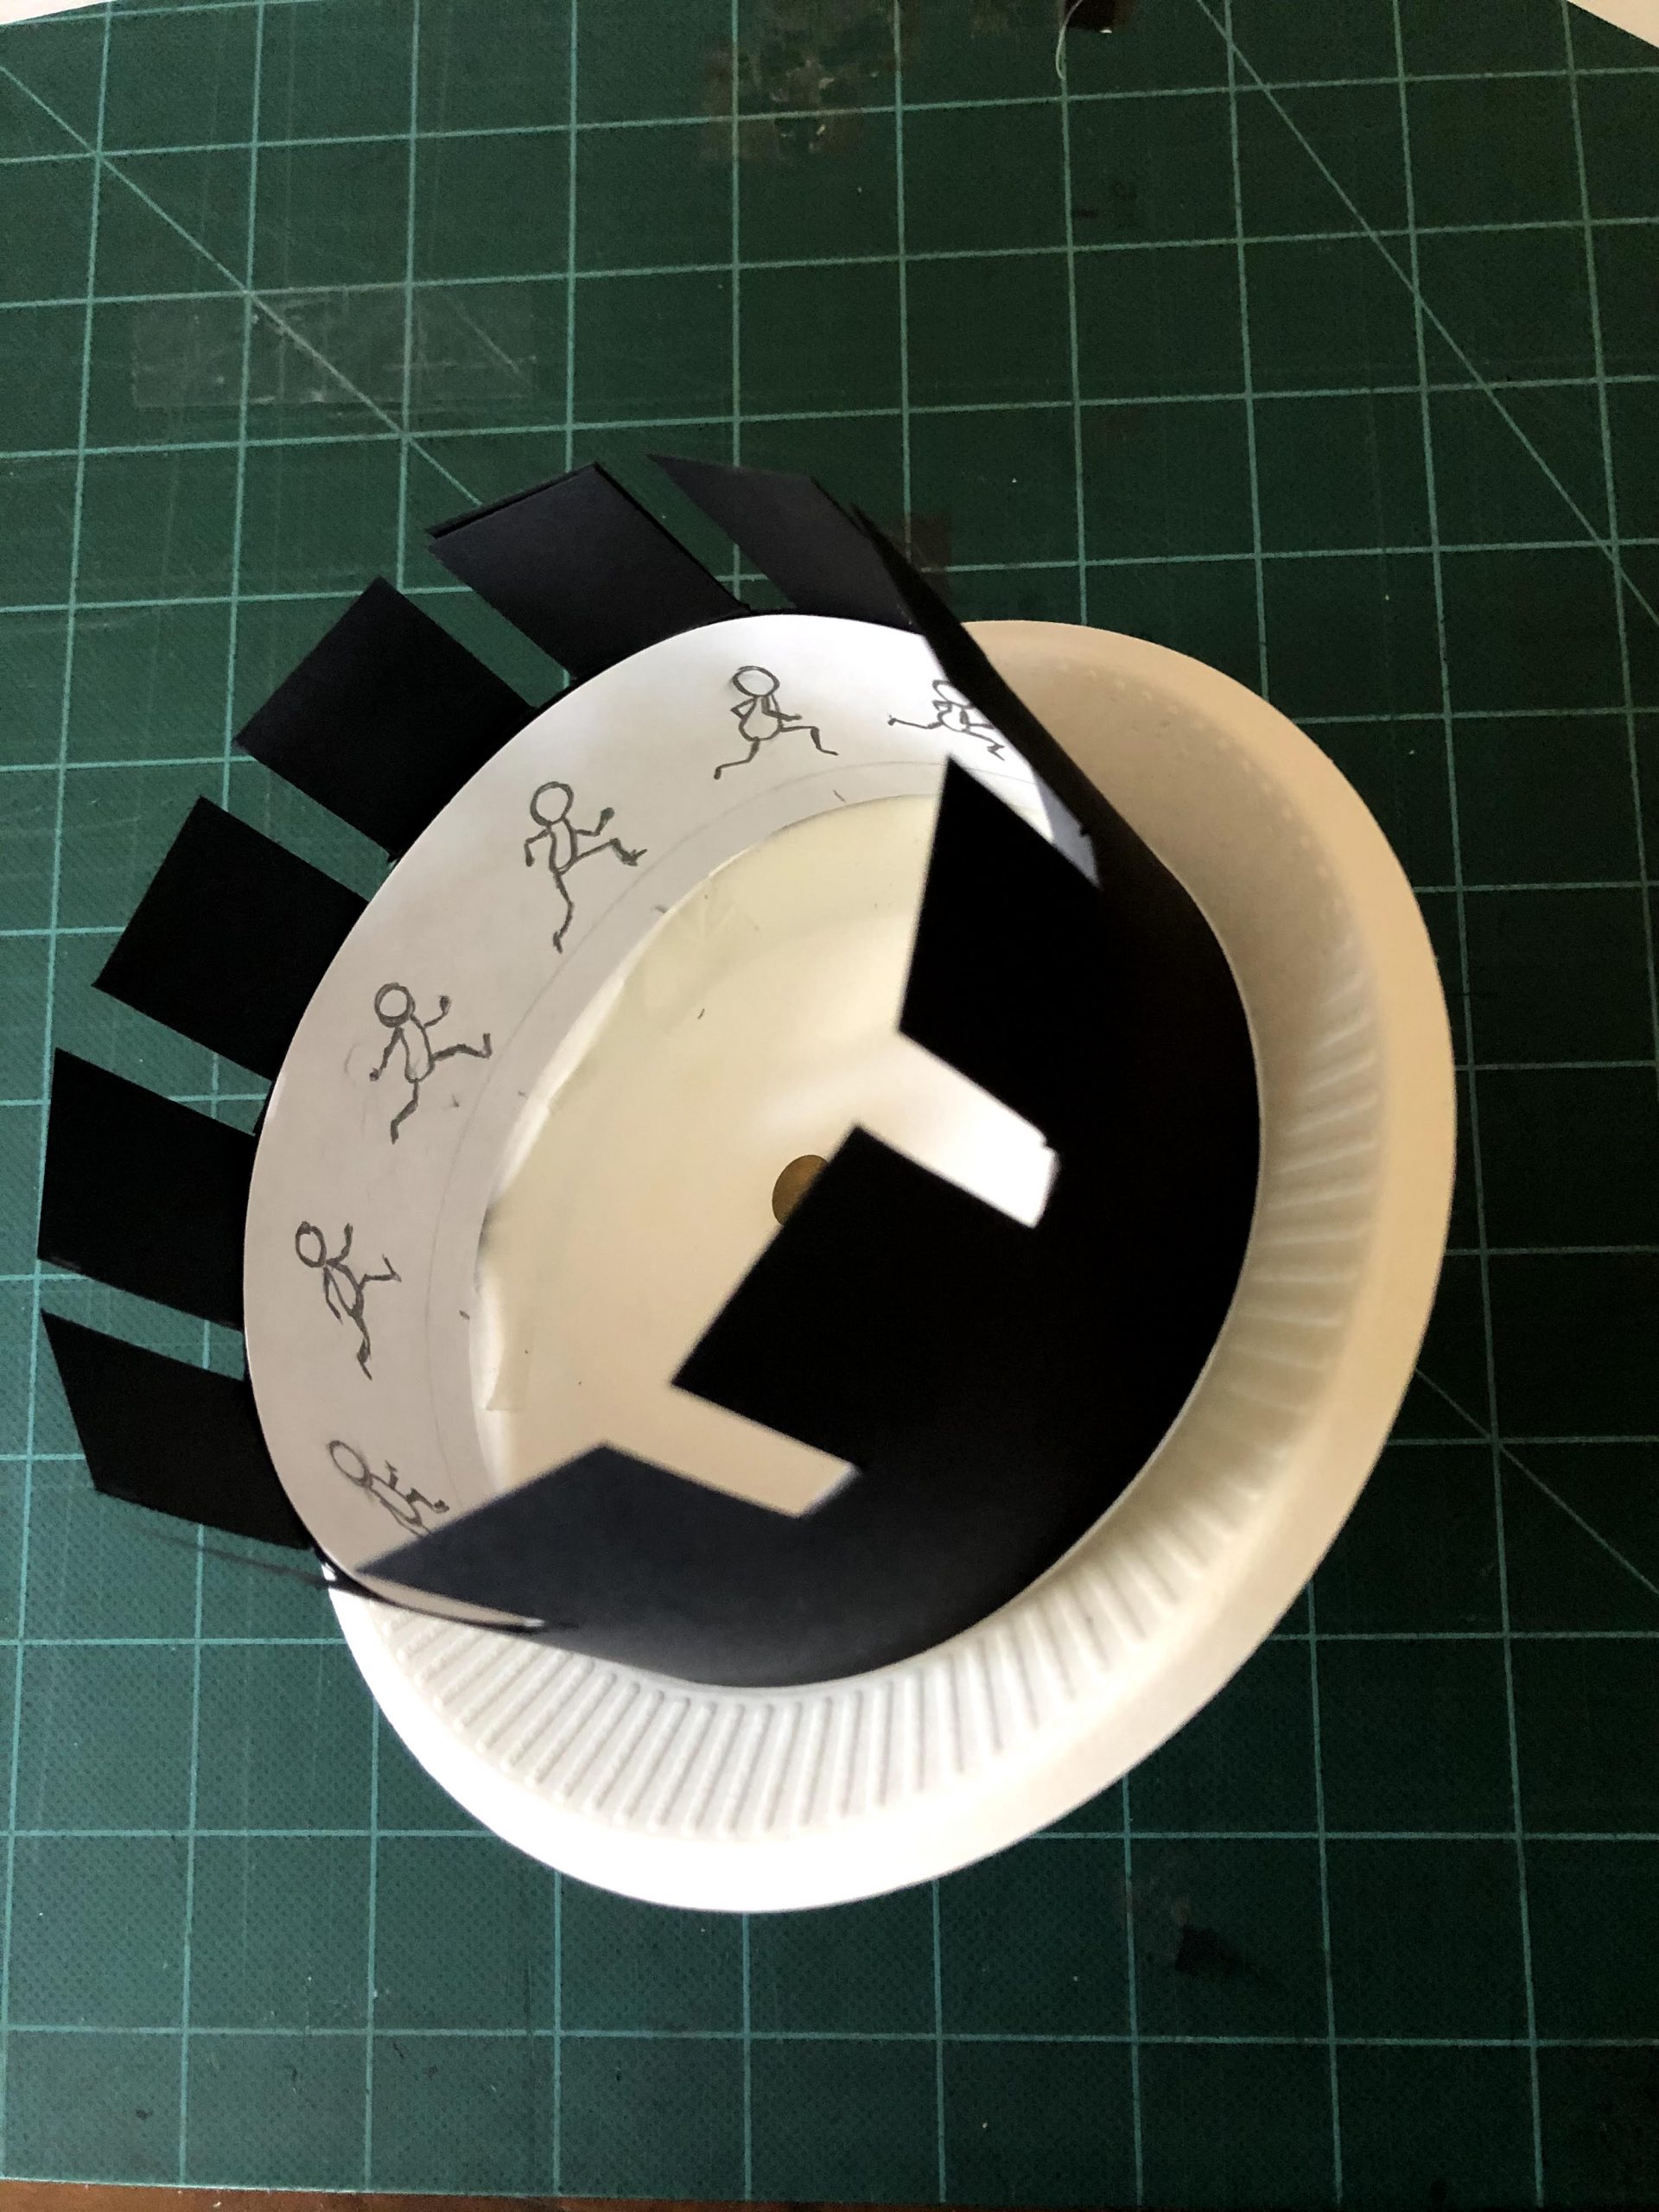
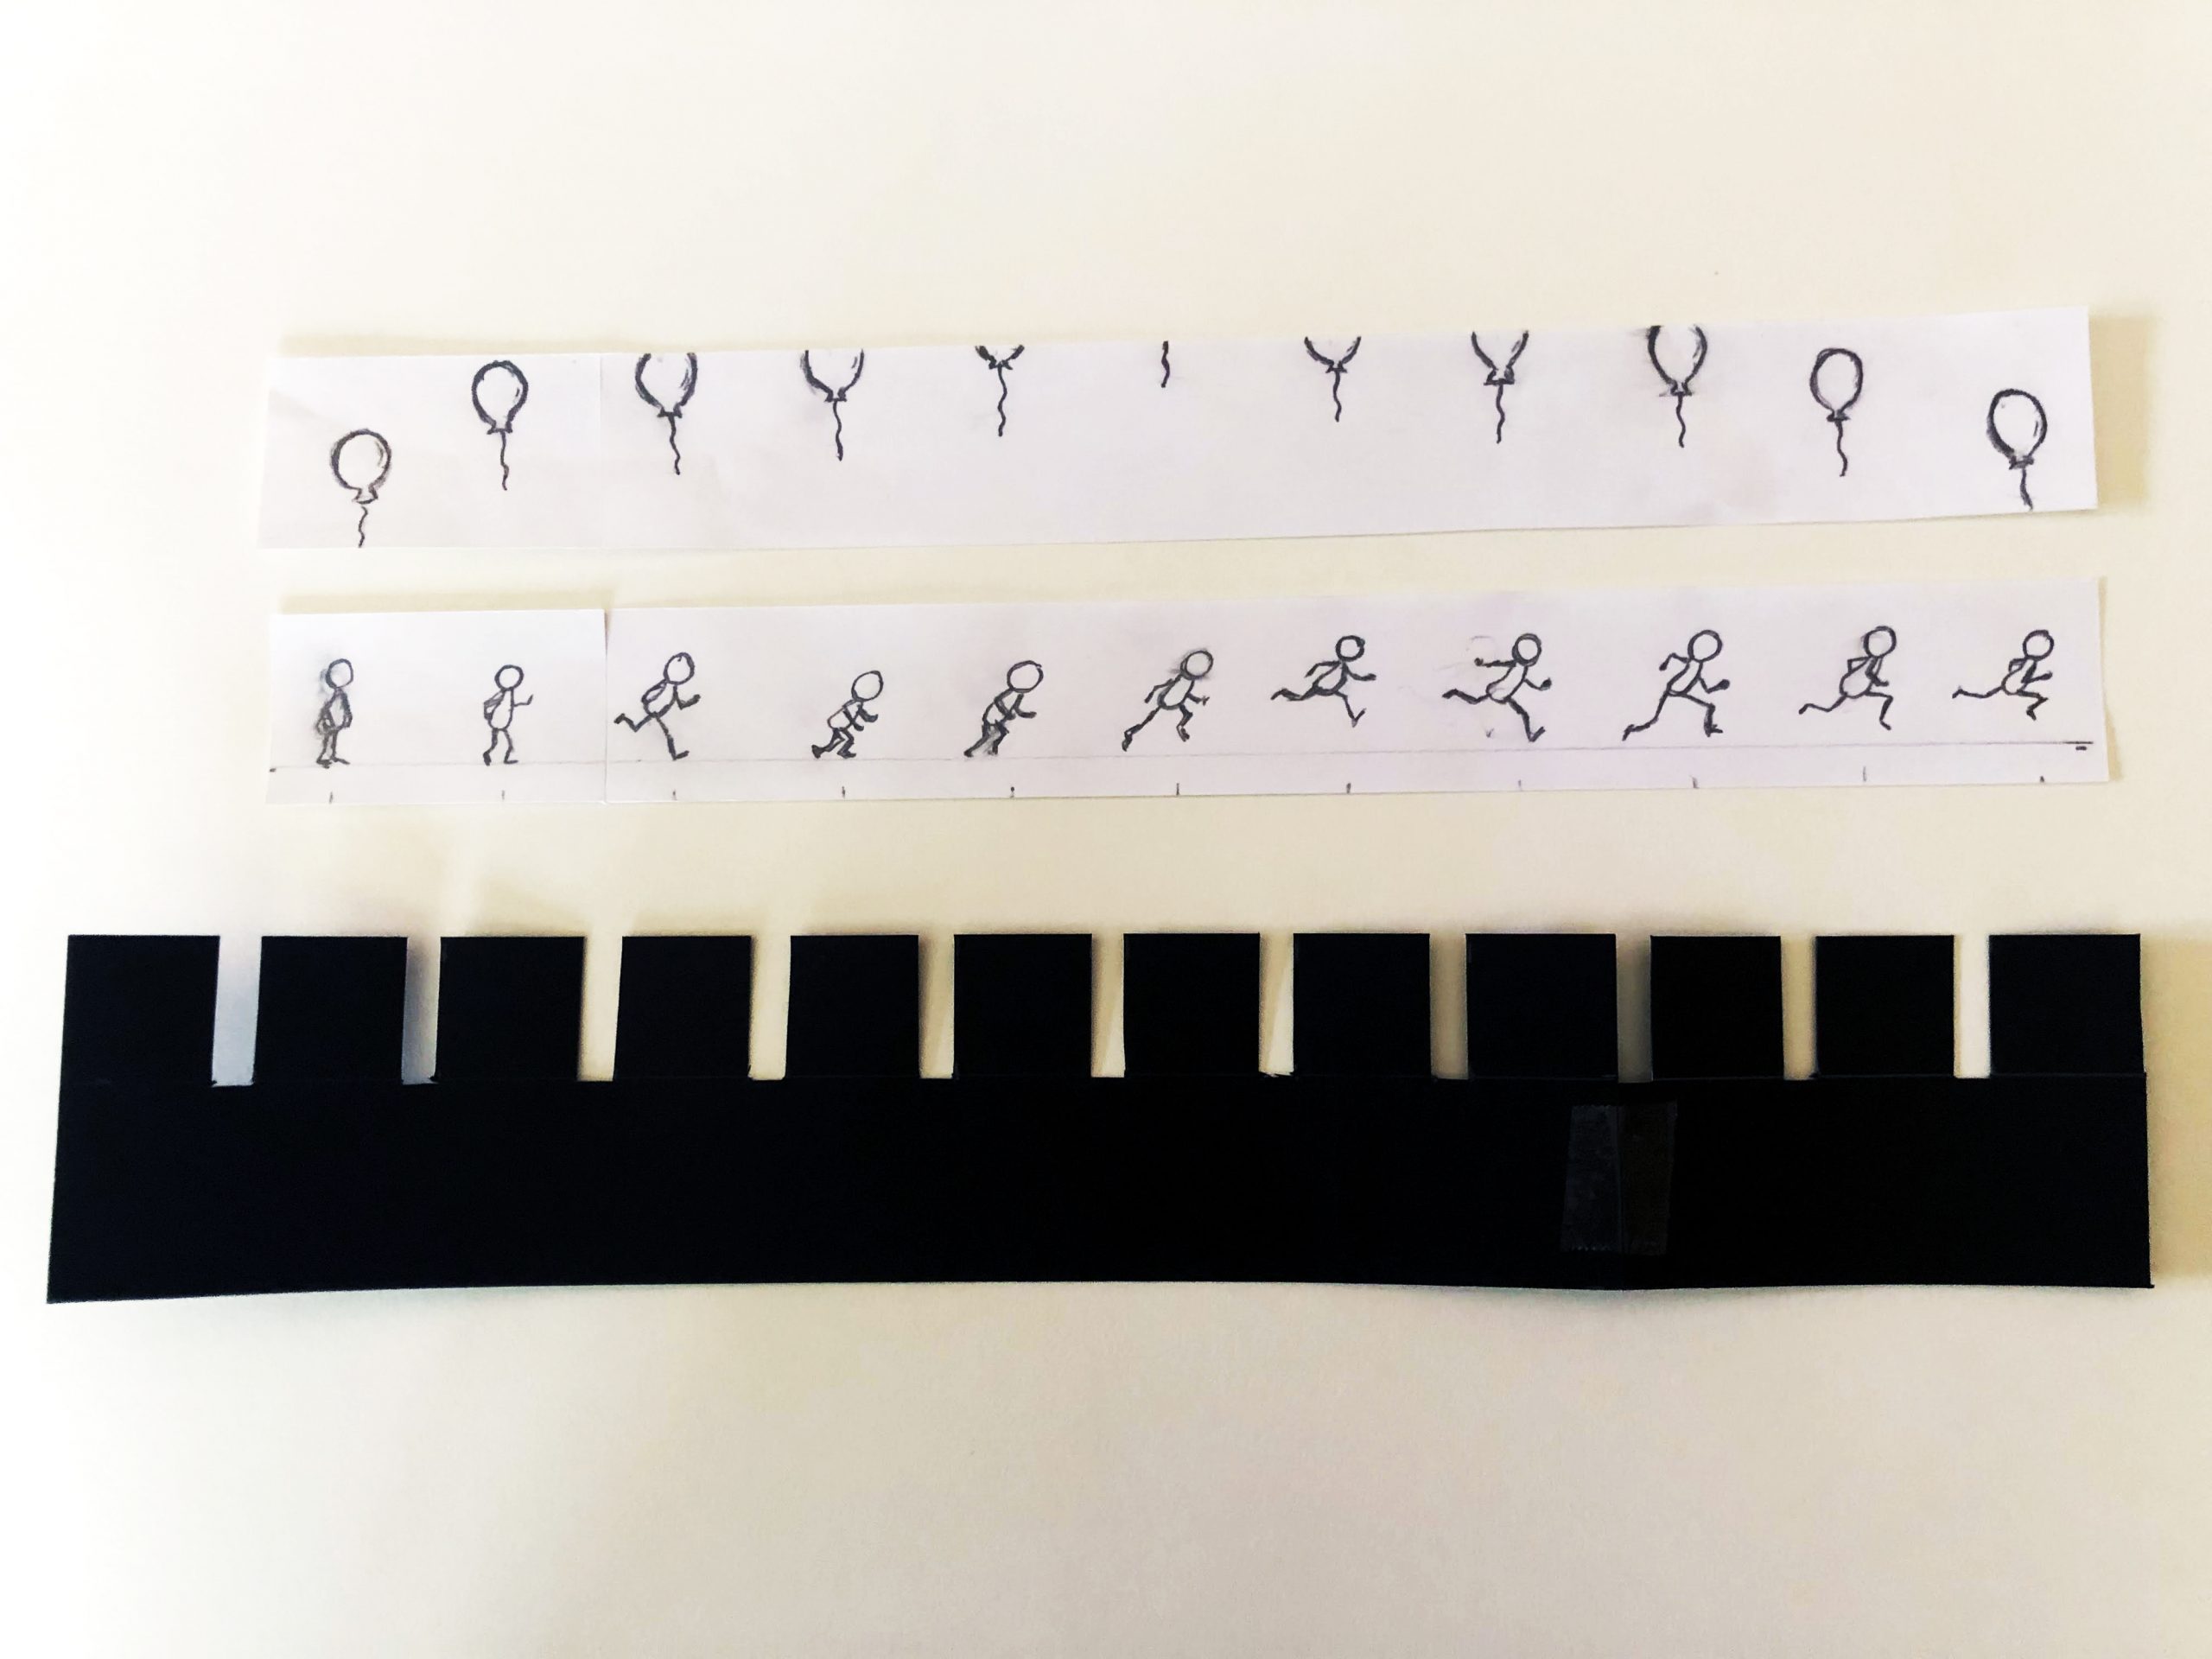
Measure and cut a strip of the black paper to 2-1/2 inches tall and 14-¾ inches long; you can tape together two sheets of paper if needed. Measure along the top of the strip and at every inch, cut out a ¼ inch wide niche that is 1-1/4 inches deep (you can also download and print a template on our website). Tape the cut black strip into a circle by overlapping each end of the paper; it will resemble a crown. Next, measure and cut a strip of white paper to 1-1/2 inches tall by 13-1/2 inches long. Make a mark on the strip every 1-1/4 inch. In each of these eleven boxes, you will draw your animations. Think about creating a consistent object that changes incrementally from one box to the next, like a ball dropping and bouncing back in 11 frames. Tape the animation strip into a circle with the animations facing inwards, and then insert this onto the bottom of the black circle, with the top of the animations below the niches of the black circle.
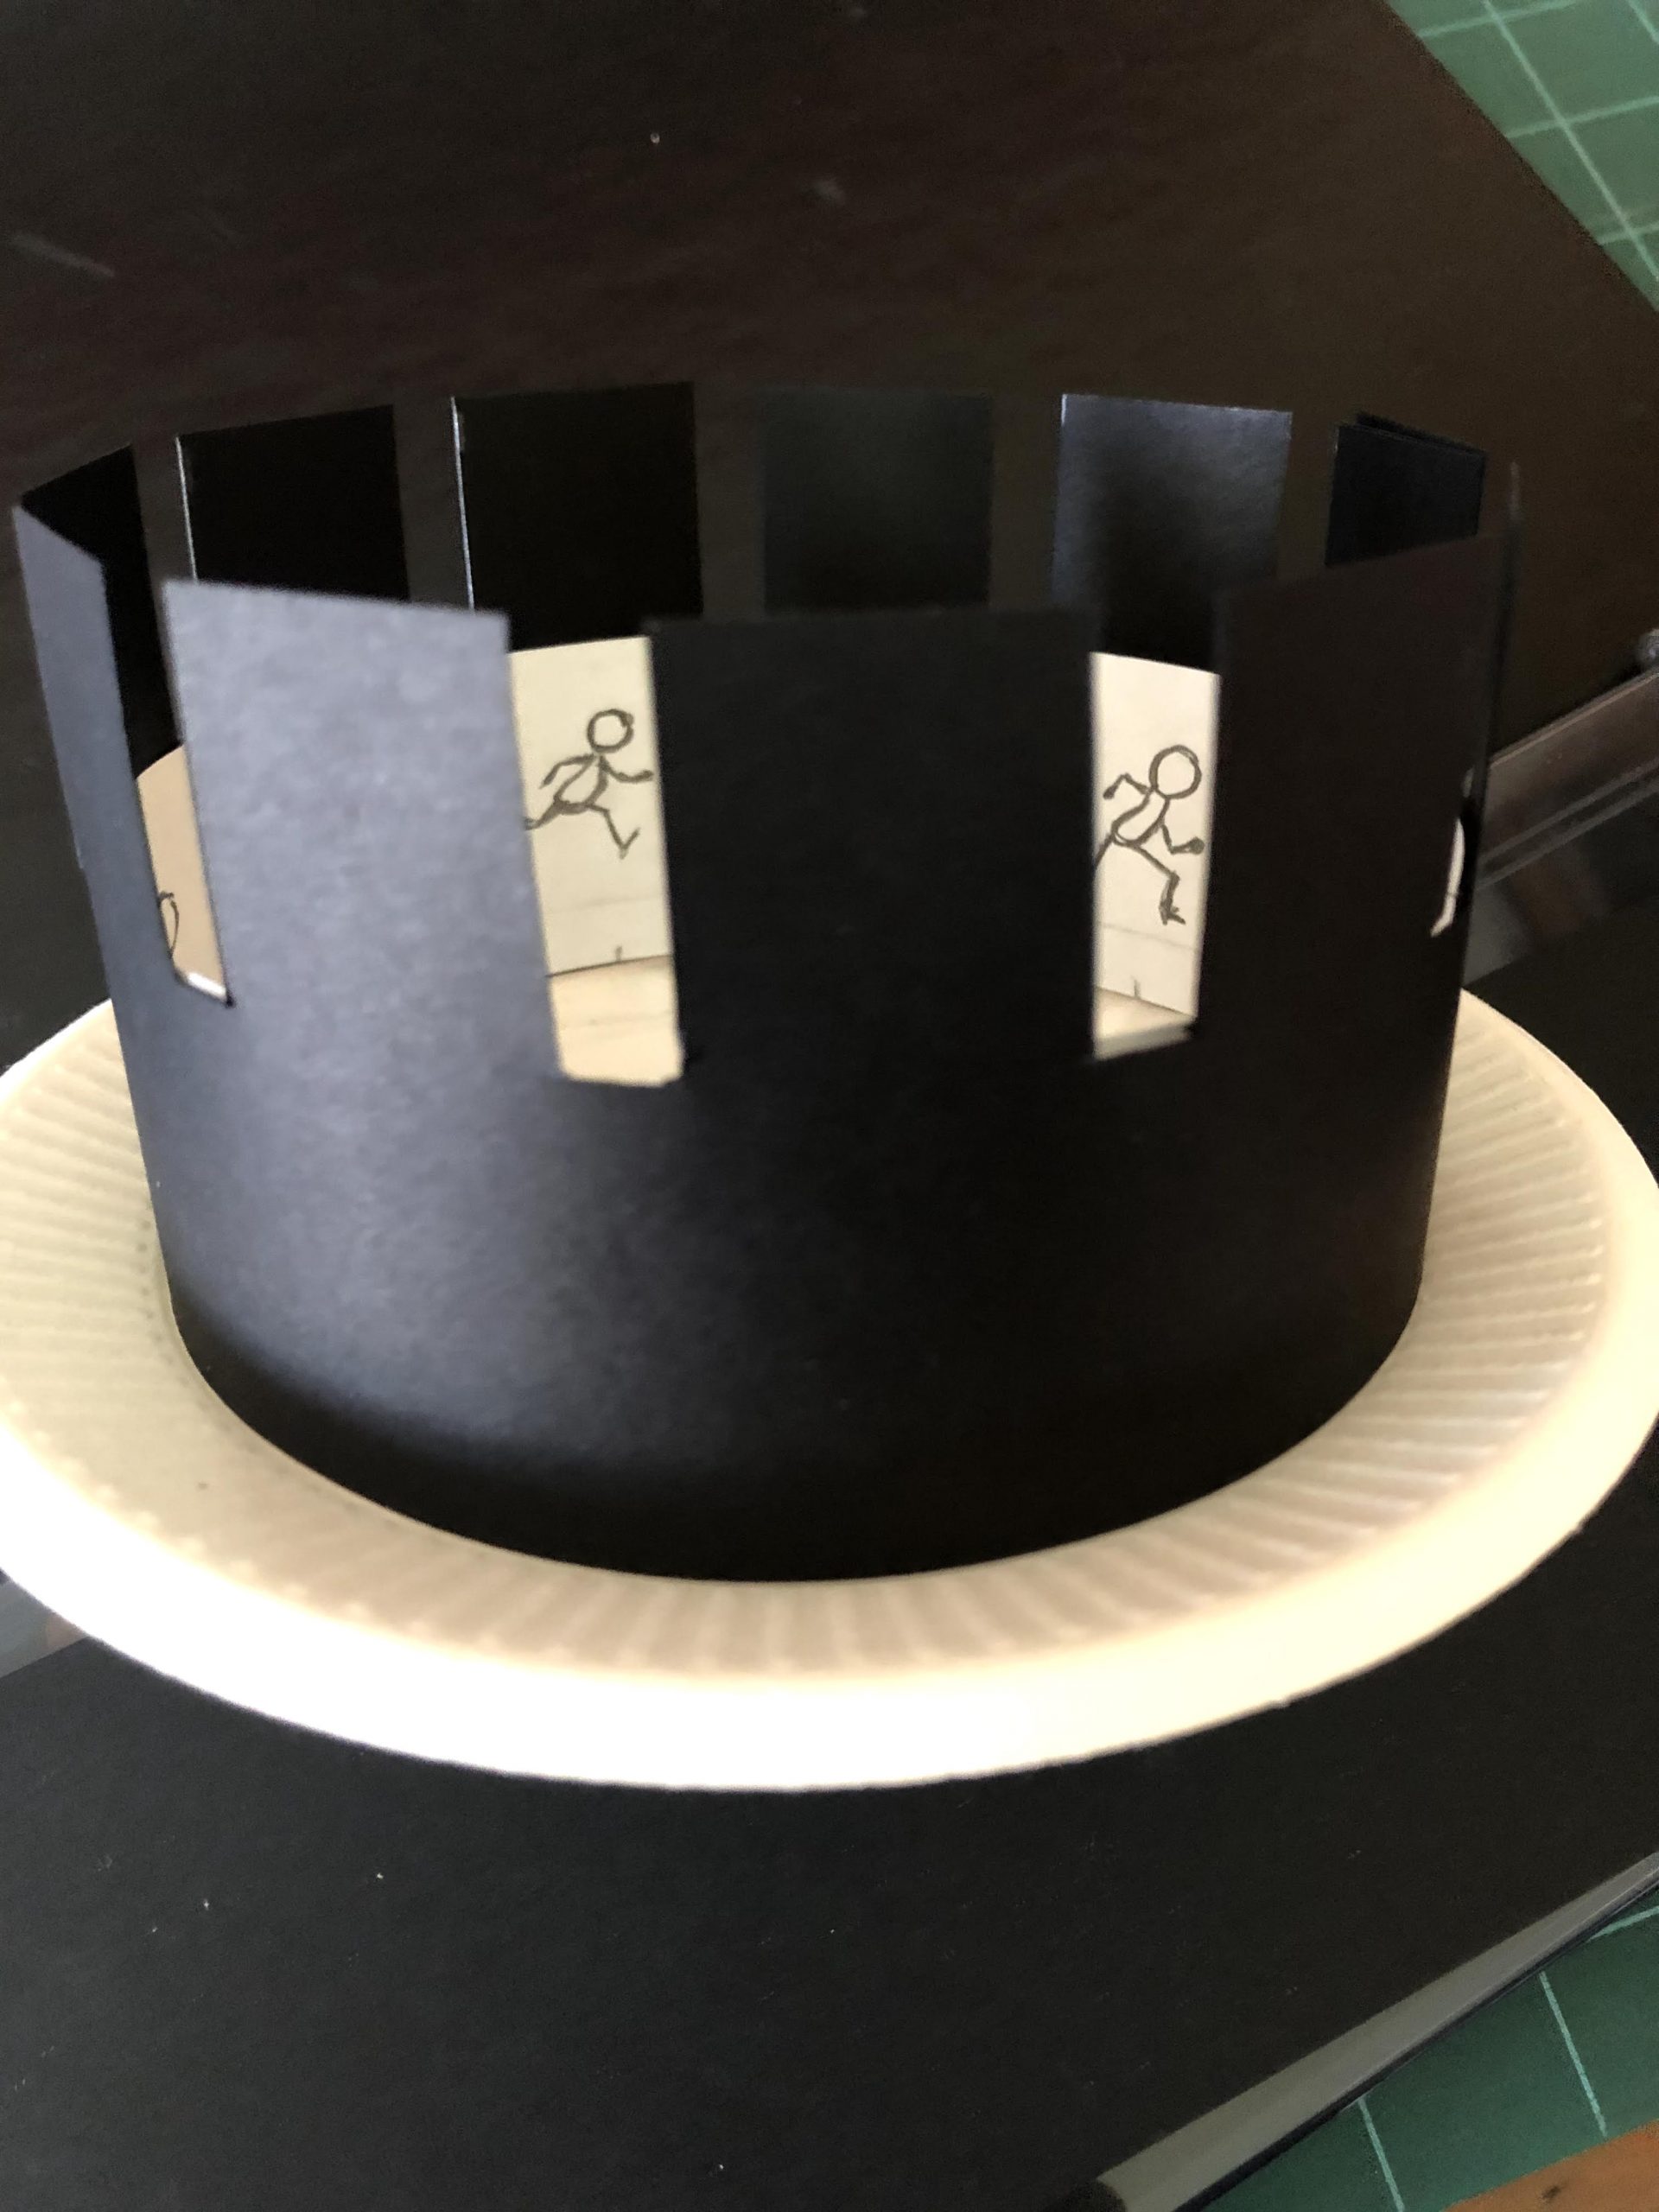
Next, find the middle of your paper plate – you can use your crown/animation to help by sitting it on top of the plate and centering it. Punch a hole at the center, and place the bolt through the hole, securing it with a nut or pencil. Then position the crown/animations onto the paper plate and tape them as securely as you can. Now use the bolt to spin the zoetrope! Looking through the slits in the black paper, you will see your animation come to life!
Download the zoetrope template.